

Textures vs Materials in 3D Graphics (A Complete Guide For Beginners)
Students new to 3D work are often confused on the difference between materials and textures.
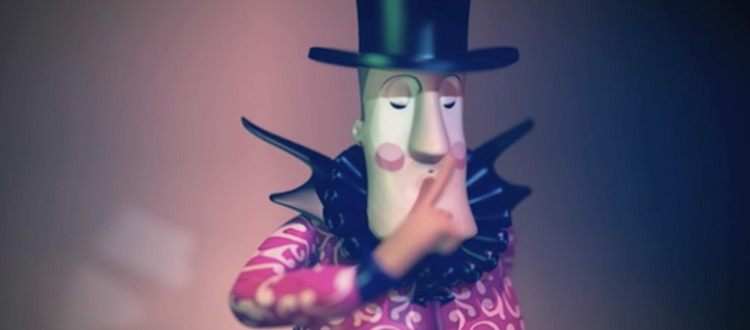
Both are fundamental to 3D art. Without them, the 3D scene would be nothing but a bunch of grey objects.
In the simplest terms: textures and materials are used to paint the surface of a 3D model, but the details are more complicated.
Textures and materials are not the same thing, although they are sometimes used interchangeably to refer to the “skin” of the model. But in 3D art they mean different things.
For instance, a 3D model may have multiple materials but only one texture.
Part of the confusion is that you’ll see artists using textures and materials in different ways depending on their style so there is a lot of overlap.
Both textures and materials can be made by hand or created procedurally. Some artists may even combine both techniques to achieve a certain effect. But let’s take a look into each type of asset to see how they work in a typical 3D workflow.
Textures
Textures are simply images used to skin 3D objects.
Any run-of-the-mill JPEG orPNG could serve as a texture. However most artists will create their own textures or use high-quality images found online.
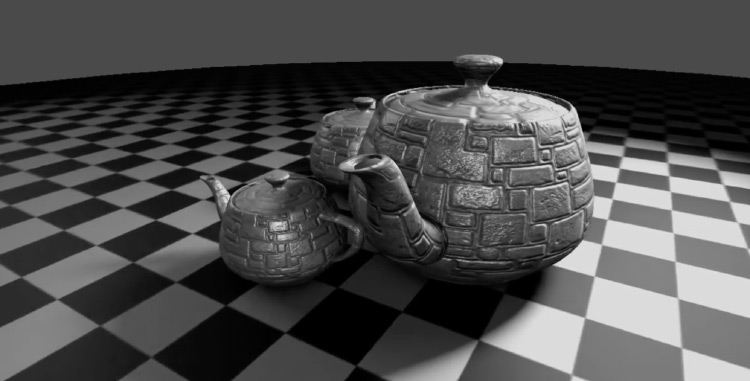
For instance, a photo of a brick wall could be used to give a 3D model a realistic red brick appearance.
Textures can be created procedurally(AKA computationally) or made by an artist in a program like GIMP or Photoshop.
An artist could take photographs of rocks and use those to paint the surface of a 3D object. Or they could paint a surface texture by hand to get a more stylistic look.
Some objects will use multiple textures too. In a video game world, for example, the terrain may use a grass texture, a road texture, and a rock texture all together.
Combining textures is a great way to create more interesting effects but it takes practice to get just right.
Materials
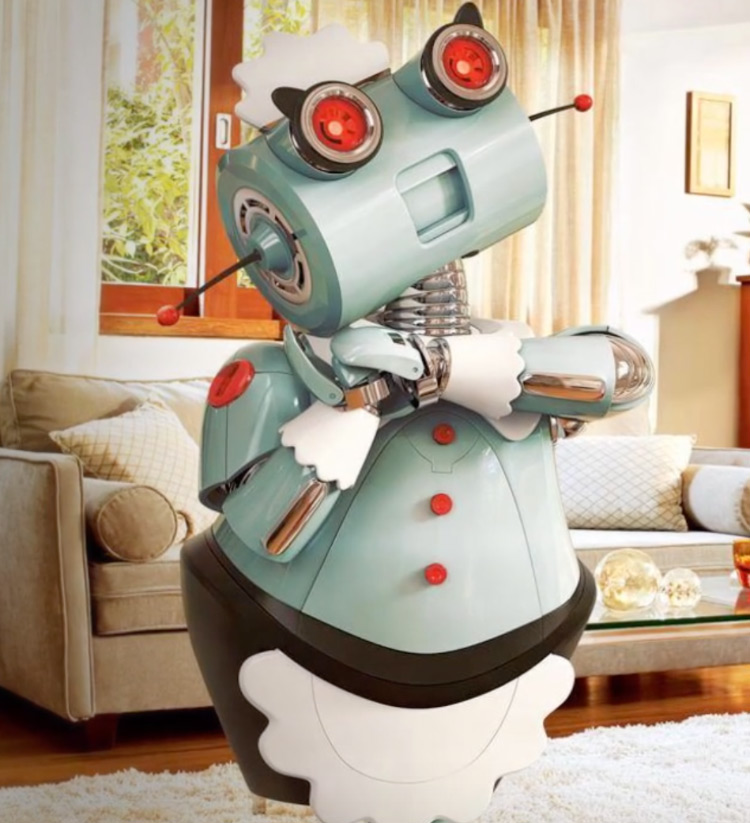
A material controls how a 3D object appears on the screen.
This means that most materials will take a texture as a parameter. Materials control the color of the object and how reflective or dull the surface appears.
Many materials take multiple textures too.
For instance, a material could use a diffuse texture, a normal map, and a specular map. These are all different types of textures but they work together to control the overall appearance of the object.
Each 3D art program will have its own material settings which will change how the object looks. By combining various textures and material settings together it’s possible to create photorealistic images.
Materials & Textures: How They’re Used
The main thing to remember is that you cannot apply a texture to an object without a material.
On its own, a texture is just an image and can’t do anything. It needs a material to actually apply onto a 3D asset.
Materials combine textures using different shaders to achieve the final effects.
Example: diffuse shaders give a matte finish while specular shaders create mirror-like reflections.
Without textures, most materials are boring. Applying textures to the material will vary the surface and create a more interesting object.
Artists will usually start by finding some textures that match the surface of the object they want to add a material onto. While many artists make their own textures, others use online websites to find free or paid resources.
Some programs let artists generate textures procedurally as well.
With this method shaders and textures are created with a computer and then baked into a texture.
Once they have the needed images, artists will then add a material and apply the textures.
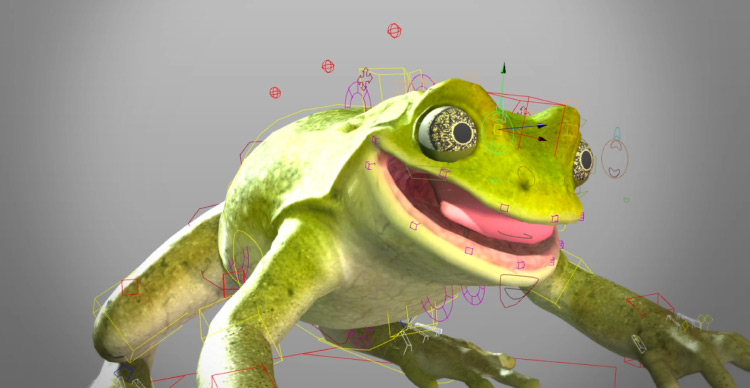
Skilled 3D artists can fine-tune the material’s settings to change how the final image appears. Settings can include color tint, tiling, and shader information as well as normal map and heightmap details.
The renderer uses this information to create the final image displayed on the screen. It will use light sources in the scene combined with materials on the 3D objects to calculate reflections, shadows, roughness, etc. This is where things get really cool!
Note that it’s common to create textures in a separate program from the one used to create the materials.
Photoshop is the most popular, but some artists use GIMP or other more specialized programs to create their textures.
Author: Josh Petty
Josh is an artist and game developer who specializes in sci-fi, fantasy, and abstract art. His work employs vibrant colors and combines elements of glitch art, outrun, retro-gamming, neo-geo, and conceptual art. He trained as an oil painter before picking up 3D modeling, animation, and programming. He now runs Brain Jar, a small game development studio that focuses on experimental, narrative-driven content. You can learn more on the website or on Twitter @brainjargames.
")


