

Drawing Supplies & Materials: A List For Beginners Learning How To Draw
So you want to jump into drawing but aren’t sure where to start.
I’ll admit, it can be intimidating. Especially if you have practically no experience.
But all the materials you need to start drawing are easy to find and won’t break the bank.
I’ll guide you through all the materials needed to get into drawing. Most of these are rudimentary art supplies that you can find online or in any art store.
And these supplies don’t vary too much between brands so when you’re getting started you can worry less about the brand and focus more on just drawing.
So on that note let’s get into this list!
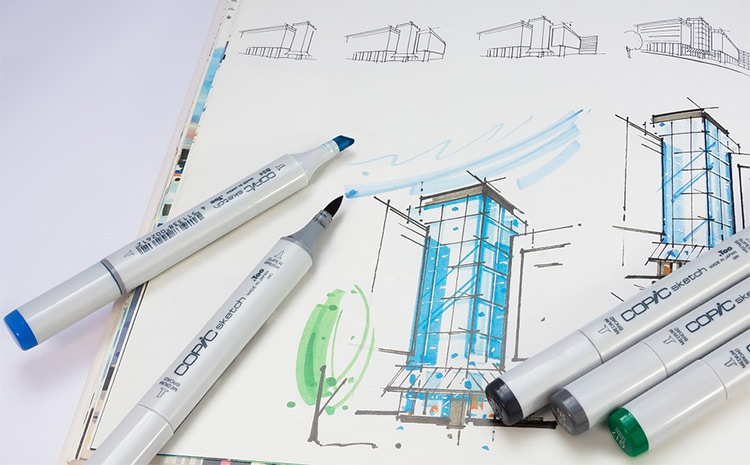
Art Pencils
You won’t get far drawing if you don’t have a pencil. Statement of the year right?
But I always suggest that aspiring artists pick up a pack of real art pencils rather than working with a #2. The quality will feel a bit different at first but that’s not a huge hurdle to get over.
You want to get comfortable working with professional-grade art supplies and graphite pencils are the best starting point.
Typically art pencils do not have a built-in eraser so that’s one way you can tell them apart. But they’ll also have little pencil grades that range from 6B-6H(on average).
The “B” grade pencils have softer lead while “H” pencils have harder lead. The larger the number, the softer/harder the lead. So a 2B is soft but a 6B is even softer.
What does all of that mean?
It’s part of the graphite scale used for grading pencils.
With a softer lead you can place darker marks without using much pressure. The lead just naturally lays into the paper.
On the flip side harder lead requires more force to make darker marks. These also typically make thinner marks when you’re using very hard lead like 4H or higher.
If you’re just getting started with drawing I personally recommend a 2B or an HB.
These are close enough to the middle of the scale where you can make some very dark marks with your shading. But not so dark that you couldn’t erase anything.
Take a peek at our guide to art pencils if you’d like some recommendations. There’s a lot of variety in that guide with a good mix of price points and lead styles.
But if you want one pencil to start with I recommend the Staedtler Mars Lumograph.
It’s one of the few pencils that comes with a huge variety of lead grades and you can get a full 12 pack at a great price.
One pack should last you for months if you’re drawing every day. The lead is soft enough to draw on anything but also firm enough to not break while sharpening.
Granted there are other options like charcoal pencils or carbon pencils, but I highly recommend starting with graphite. It’s the easiest medium to work with and it’s perfect for beginners.
Not to mention you’ll probably find yourself using graphite most of the time while sketching or practicing quick drawings outside.
Drawing Paper & Pads
A pencil without paper useless.
But the type of paper you use for drawing can play a huge role in the quality of your work. This is especially true for more experienced artists who want to create finished pieces.
When you’re just starting to draw printer paper is totally fine.
Most of the work you do is gonna be terrible if you have little-to-no experience. If you’re a bit older and never drew as a kid then you won’t want to sink money into high quality paper anyways.
For beginners: stick to a pack of A4 printer paper.
For anyone slightly above novice level: look into textured paper or even drawing pads.
With a drawing pad you can bring your paper on the go to start practicing more from life. This is tougher with printer paper because you won’t be able to get your shadows just right.
I really like the Strathmore pads because they come in a bunch of different sizes and paper styles. One example is a newsprint pad which typically comes in larger sizes measuring 2-3 feet or more.
If you go this route you may like it a little more than a sketchbook. It all depends on how you like to draw and what you feel comfortable with.
But no question, a simple pack of printer paper is the best way to get started.
That paper is much more uniform and easier to predict with the same 8.5″ x 11″ measurements.
And printer paper comes in reams of 500 sheets where you can draw on both sides.
Assuming you work through 5-10 pages per day(which is a lot!) you can have one ream last you over two months.
Just one note: I recommend buying a separate pack of printer paper for drawing. Keep it with your art supplies and don’t use it for printing at all.
The reason is you’ll feel a tremendous sense of accomplishment once you work through a full ream. And truthfully, one ream is just the beginning.
So if you know you’re only using one ream for drawing you’ll have a way to count how many pages you’ve drawn right from the beginning.
Erasers(Kneaded & Regular)
When you draw with a generic yellow pencil you always get that pink eraser on the other end.
That can be found on some art pencils but it’s not typical. That’s because artists typically need more control while erasing.
When you’re brand new to drawing this may not make a lot of sense.
But as you learn how to refine your work through critiques you’ll realize that tiny changes can make a big impact on your composition.
So, erasers. They’re a bit more that just little rubber cylinders.
I specifically recommend getting two different types of erasers:
- Rubber/plastic eraser
- Kneaded eraser
The plastic erasers usually come in white and are real easy to find. I recommend Staedtler because they’re the most well-known brand.
For a kneaded eraser you can look around to find a preferred brand or a good price point. These come in many different styles but they all basically work the same.
The kneaded eraser feels more like a putty or Play-Doh. You can tear off pieces to make it smaller and roll it up into different shapes.
This makes it so much easier to erase very small areas in your drawing without erasing other surrounding marks.
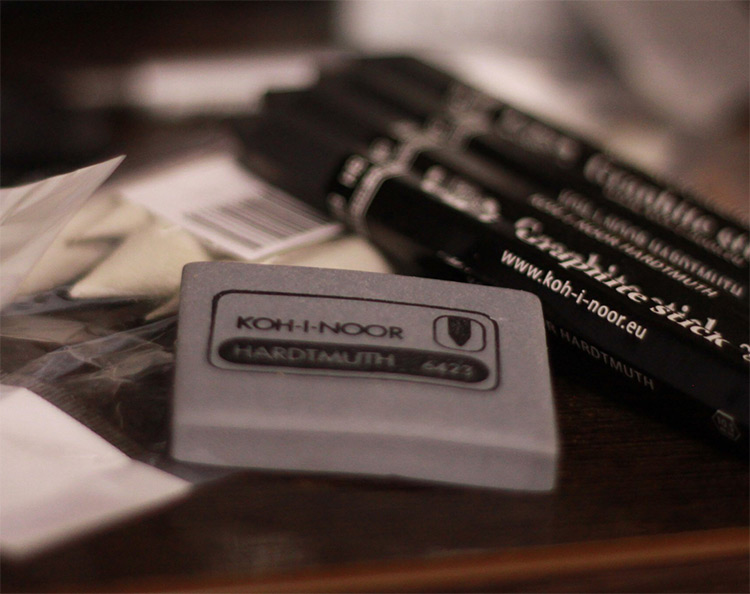
You’ll find these erasers mostly in a light grey tone and they get darker with use(like any eraser).
The cool thing with the kneaded material is that you can literally “knead” the eraser like dough. As you do this you’ll mix up the graphite(or charcoal or whatever) which is like a self-cleaning technique.
Eventually it will end up pretty dark and you can see a comparison in the photo below(new eraser on left, used on right).

If you’re a complete beginner then a simple white plastic eraser may be enough.
However if you’re buying a bunch of art supplies at once there’s no reason to wait on the kneaded eraser. It’s something you’ll eventually want so the sooner you practice with it the more comfortable you’ll feel using it.
Take a look at some kneaded erasers to see what you think. You’ll find plenty of 2-packs for dirt cheap and they’re great to have around.
I typically find that kneaded erasers get more use when you’re working on finishing a piece. The plastic erasers are better for practice time and basic drawing exercises.
But they’re both invaluable materials to throw into your toolbox o’ art goodies.
A Sketchbook(or two!)
The single best thing you can pick up for drawing is a quality sketchbook.
We actually published a detailed guide on finding the right sketchbook. It’s a lengthy article so I’ll share a few recommendations here too.
But really, your sketchbook is the one thing you can always rely on. It’s the best way to draw anywhere, anytime.
And if you’re serious about learning how to draw then you need to sketch.
There’s quite a few reasons why sketchbooks are so valuable to artists but these are the key points:
- Lightweight and portable
- Tons of variety in page material & texture
- Hardcover sketchbooks provide a firm drawing surface
- They last forever and you can keep them to look back on your improvement
Think of your sketchbook much like your practice book. It doesn’t have to be something you ever show to anyone.
In fact many professional artists typically have two working sketchbooks.
One is their rough/practice sketchbook where anything goes and there’s no concern for end quality. This one is solely about learning and improving.
The other sketchbook is more like a “public” sketchbook where you might practice the stuff you’re good at to show your friends.
What good is learning to draw if you can’t show it off!
When you’re first getting started you’ll be pretty bad at drawing. That’s normal.
And that’s exactly why I recommend sticking with one sketchbook at first. Get one and try to fill it up.
You can use it for anything you want so long as it’s getting used.
Maybe you only draw in it for one hour a day. Or maybe you only draw in it while you’re outside.
Doesn’t matter how you use it, so long as you force yourself to get comfortable drawing in a sketchbook.
As for which style to get, there is no single best choice. You can browse sketchbooks to see what grabs your attention or what fits into your budget.
I like the Pentalic wirebound sketchbook since the wire binding makes it easy to flip through and work on individual pages. Plus the front & back hardcovers make a great impromptu drawing surface.
Either way there’s no denying the value of a sketchbook.
Every single artist at every skill level should have at least one lying around getting some use on a regular basis.
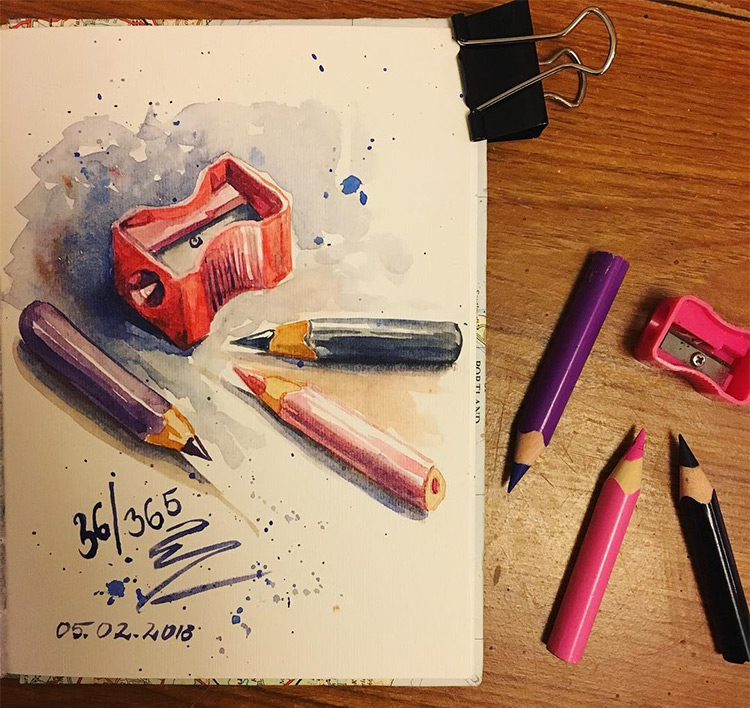
Pencil Sharpener
You may have a pencil sharpener hanging around from grade school so this may be an easy one to check off the list.
However there are a surprisingly large number of different pencil sharpeners out there. Even the manual hand-held sharpeners come in a wide variety with different blades and sharpening holes.
If you’re an artist I mostly suggest against electric pencil sharpeners. They’re certainly great, but it can be tough finding an electric model that’s gentle enough to not break your lead.
This goes double if you’re new to drawing and aren’t familiar with the strength of your art pencils.
We did publish a guide to pencil sharpeners with quite a few recommendations to pick from.
The Prismacolor Premier Sanford is generally what we recommend if you’ll be using a mix of pencils, especially colored pencils.
However if you’ll just be using a typical graphite pencil then the sky’s the limit.
There’s plenty of little art pencil sharpeners you can find that are dirt cheap and even come in 2-packs. That way you can keep one at home and bring one with you on the go.
End of the day you can’t do too much damage by just picking a sharpener at random.
I personally like the metal ones more than the wood or plastic models but it’s totally your call based on your preferences.
However there is one electric model I want to mention mostly because of its portability.
It’s the TripWorthy sharpener which is powered by four AA batteries. This doesn’t need any kind of wall outlet so it’s a brilliant choice for drawing out in nature, at the museum, or just anywhere away from AC power.
Now you could use a manual sharpener if you’re away from power outlets so that is still a good choice.
But if you want something that’ll auto-sharpen and something with a container to catch the shavings then TripWorthy’s sharpener is a real beaut.
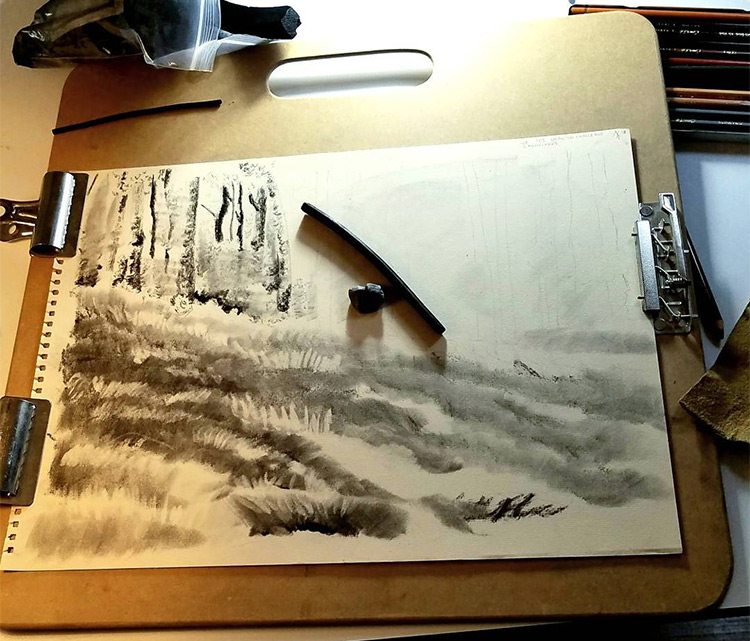
Drawing Board
Out of everything in this list I’d say a drawing board is the least necessary item.
But it’s worth having one around if you want to work on larger paper or work in a room without a desk.
Basically a drawing board lets you draw from any vantage point. You can bring it around to any room in the house or to drawing locations like the park.
Typically drawing boards measure larger than A4 paper so they’re good for practicing on bigger sheets along with printer paper.
Think about this: you want to practice drawing some basic household objects. Your sofa seems like a fun subject to draw, but you don’t have anywhere to sit and draw in the living room.
That’s where your drawing board helps.
We’ve shared our top suggestions for the best drawing boards across a variety of styles. But really it comes down to your price range and what you’re looking for.
I organize drawing boards into three main properties:
- Total size(width/height)
- Total weight & thickness
- Price
Some artists want a really thin drawing board that’s easy to carry around. Others may want a thicker one that’ll support clips at the top for holding a sheet of paper in place.
No right or wrong answers here and there’s tons of drawing boards to look through.
Just search around and see what you think. If nothing grabs your attention then no biggie, just forego a drawing board for now.
And if you ever want one in the future you’ll have plenty to choose from.
Supplies Container
I highly recommend getting a container for your art supplies. Even a small plastic container will make a big difference.
This comes from experience not only breaking pencils and damaging erasers, but also losing stuff. It’s the worst.
Keeping yourself organized is crucial. This gets even more important as your total art supplies grow larger over time.
I don’t want to recommend any specific container because there is no single best choice.
You need to figure out how many items you’d want to keep together, how much space you have in your home, and where you’ll keep everything.
If you’re just getting some pencils, paper, and some erasers then you can get away with a small plastic bin or a general art supply storage holder.
Or you might just want a small fabric pouch to keep your pencils & erasers in That works too assuming you can find one large enough.
If there’s space in a drawer in your desk that’s another option.
Ultimately the goal is to find an organizational style that works best for you and stick to it.
That way you’ll know exactly where your materials are every time you sit down to draw. Less time wasted means more time practicing. That’s always a good thing.
Reference Photos
I wasn’t sure whether to include this or not because it’s not a physical item.
But I do think everyone learning to draw should have some reference photos.
These are just different photos of various subjects(often human poses) that you can draw from and use as study materials.
I primarily recommend saving gesture photos to practice figure drawing early on before attending a live figure class.
Don’t get me wrong, you should eventually go to classes. Nothing beats drawing a model from life.
But when you’re brand new that can be intimidating. So working from gesture photos makes more sense and will encourage you to practice more.
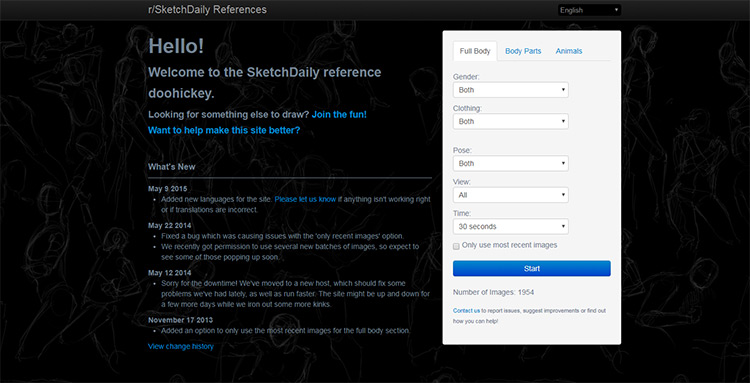
We collected a huge list of sites dedicated to free reference photos. Those sites are totally free to use and they let you cycle thousands of gesture pose photos for figure practice.
But don’t think of reference photos as just figure drawing.
You can also save reference photos of facial expressions, animals, or specific areas of the body like hands.
One of my favorite model packs is this hand photo set from Proko.
It does cost money but it’s the largest collection of HD hand photos made specifically for artists. With over 1,500 photos in varying poses this is by far the best reference material around.
Actually I recommend all of Proko’s photo sets for references. They’re absolutely massive and they can help all artists from beginners to experts alike.
If you stick to only the free photo sites you’ll still have plenty to work.
The benefit of Proko’s photos is that they’re HD quality and they were captured with artists in mind. Plus they offer the largest total number of photos you’ll find in any reference pack.
Use ‘em, don’t use ‘em. Totally up to you.
But one thing you absolutely should do is create a folder on your computer for references. Like, start doing that today.
Whenever you see something online that you can use as a reference you can save it to that folder. Then go through it during your practice sessions.
Over time you’ll build up a massive collection of reference photos which are(in my opinion) just as important as your physical drawing supplies.
Now Get Drawing!
With everything in this list you should have more than enough to sit down and get to work.
If you want to simplify this list you can get by with just four things: pencils, an eraser, a sharpener and some paper.
That’s enough to start drawing and keep drawing day after day. Consistency is your best friend and that’s how you’ll see the most progress in the shortest amount of time.
But first things first: get your art supplies in order. Make a list if you have to. Decide on a budget, get what you need, then start putting in those hours and learn how to draw the right way.
")


