


What is Post Processing in 3D Work?
Post processing is the work done on a 3D render after it’s completed, usually outside of the 3D software package in editing software like Adobe Photoshop for images or Adobe After Effects for videos.
Post processing is used for predominantly three reasons:
- To fix small errors in a long render.
- To achieve an effect that is either impossible or would take a lot longer to produce in the 3D package.
- Due to renders taking a long time to render, it’s better to have some of the effects as separate layers that you can quickly edit yourself after the fact. This is preferable to baking them into the render where they are difficult or impossible to edit.
Most architectural visualisation renders you see online have been heavily post processed to include people, blurs, and other effects.
This process is also used often in film production to insert green screened actors into 3D rendered environments.
Real Examples of 3D Post Processing
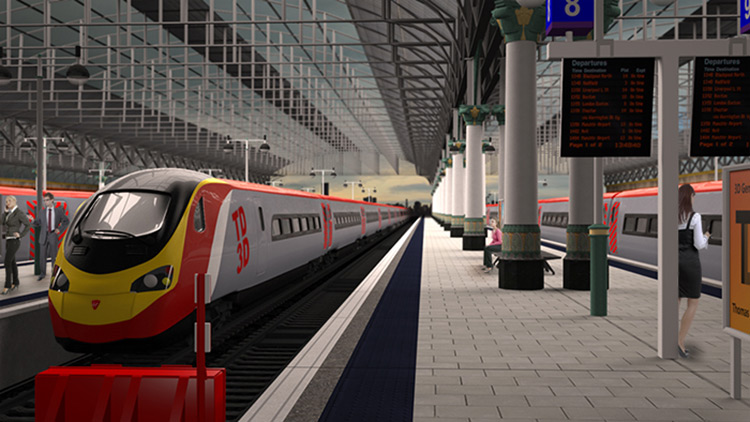
Below is a render of a train station I made a few years back.
I used all 3 stated post processing uses in this image, and will go through them quickly to show you the power of post processing in the real world.

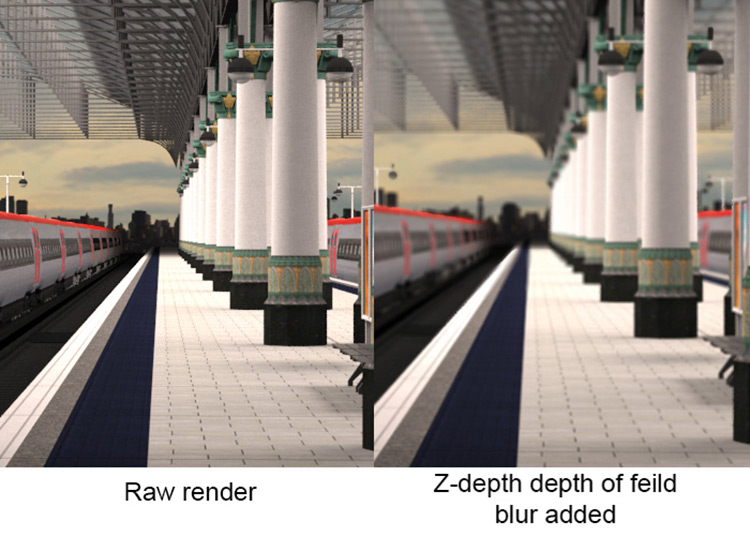
The first thing I decided to add to this was a depth of field (DoF) blur.
This is an effect that most render engines can emulate themselves using CPU tracing algorithms. However once render is finished, if you think the effect is too strong or too subtle you have no easy way of changing it.
Render engines let you render certain elements as separate layers that you can take into your post processing software. Using V-ray I made a Z-depth layer.
Z-depth is a black and white image where objects closer to the camera are white and objects farther away become darker and eventually black.
Adding this to the renders alpha channel in Photoshop, then using the lens blur tool allows anyone to freely experiment with as much(or as little) DoF as you like, until you get the result you need.
And you can see the result instantly rather than waiting for a new render(if memory serves, this scene had a render time of around 25 minutes. But that is very low compared to some professional scenes).
It was around this point I noticed that I had somehow removed a material before rendering the image.
The logo badge at the front of the train was completely grey. Luckily this was a very small section of the overall image so I could easily get away with fixing it outside 3DS Max.
A simple Google search to get the company logo I needed, then using Photoshop’s perspective and skew tools, I made it match the image’s lens distortion and then simply overlaid it over the grey badge and painted in any extra lighting details.
The final step was adding some life into the scene.
People have a habit of being in public places so they are usually the main thing to add into a scene like this, just to make it appear more realistic.
People rendered in 3D are very difficult to achieve to a photorealistic standard. So most artists choose to use composite images of people and insert them into the scene after the render.
Recently due to the rise of 3D scanning technology there are archives of 3D people who look indistinguishable from photographs, and some studios prefer to use these now.
However they are usually very expensive so it can easily cost you hundreds of dollars to populate your scenes with these models.
Once you get your images of people you wish to insert, remember to use Photoshop’s brightness, contrast, and exposure tools to make them fit in with the lighting of your scene.
If there are particularly bright-colored lights in your scene you may need to paint the light onto the people and overlay that light to make everything sit in the scene properly. However this wasn’t required in my example scene.
After this step I duplicated the render to a new layer so that I could revert any mistakes, and then used the burn tool to draw in some shadows which helps make people look less “floaty”.
Do note that this wasn’t a professional project by any means; it was just one I did for fun a few years ago and a good example for this article.
The quality you should aim for should surpass this piece.
Other Reasons For Post Processing
While earlier I shared the 3 main reasons to use post processing on your renders, there are others.
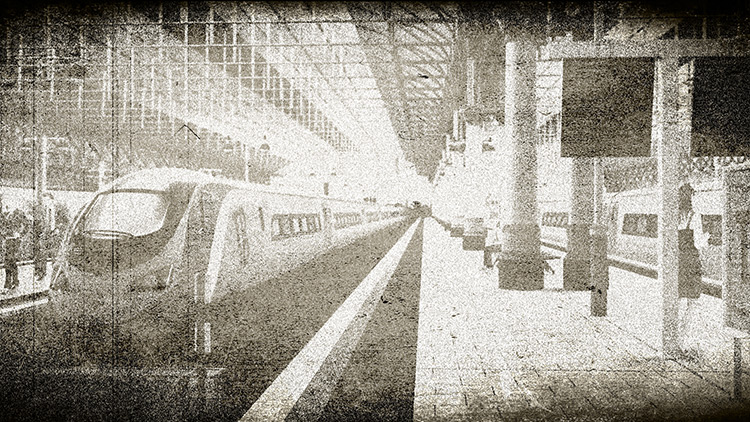
Photoshop and After Effects have so many filters and custom effects to apply to your images, you can have a lot of fun making your renders truly unique with some stylized choices!
The only limits are your imagination.
In short, post processing is one of the most important and yet overlooked features in a 3D artist’s workflow.
The work you put in after the render can really bring your image to life and make your work stand out from the rest.
You should really spend some time learning how to best add these finishing touches because your 3D work will benefit from it.
If you’re fairly new to Photoshop there are a lot of resources that may help you pick up the absolute fundamentals like certain tools, custom effects, or anything else that might apply to 3D work.
Author: Thomas Denham
Thomas is a 3D creative working with both high and low poly modelling for still renders or real time engines. He is currently working freelance after spending 4 years at a multi-national VR company. To see Thomas' work and learn more, feel free to look at his personal site.

")
")


