

Best V-Ray Tutorials For 3ds Max, Rhino, Maya & SketchUp
Of all the options for 3D renderers today, Chaosgroup’s V-Ray plug-in is the oldest.
With the dynamic and competitive 3D industry that says a lot. Starting in the niche for architectural visualization, this versatile photorealistic renderer has extended its use for projects such as product visualization and video game character development.
In this list you’ll learn all about the comprehensive V-Ray toolset from the original plug-in for 3ds Max to the ported plug-ins for various programs such as Maya, Rhino, and Sketch Up. There’s bound to be something here for everyone so dig in and start learning!
Jump To:
V-Ray for 3ds Max
V-Ray For Rhino
V-Ray For Maya
V-Ray For SketchUp
V-Ray For 3ds Max
V-Ray for Beginners
In this beginner tutorial you’ll learn about dedicated V-Ray objects that are provided after the installation of the plug-in.
You’ll also get a brief introduction on how to navigate inside 3ds Max. This comes alongside handy shortcuts such as pressing F10 to easily change the default renderer from scanline to V-Ray or pressing F9 to quickly render images.
As V-ray comes with its own set of materials, you’ll be learning many different V-Ray shaders.
In the process you’ll create diffuse and reflective material. Finally you’ll render an image using image-based lighting(IBL) to achieve realistic reflections by making materials from angular to spherical.
Realistic V-Ray Material
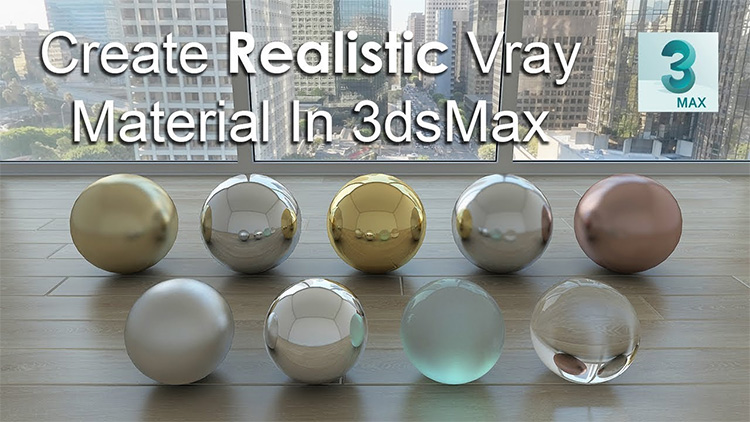
In this tutorial you’ll create several materials such as bronze, chrome, gold, steel, copper, aluminum, metal, glass and tinted glass. Yes, it’s a lot!
This just shows how flexible V-Ray can be.
For every material the author provides a handy parameter list on-screen for what to change to achieve the desired look such as glossiness and fresnel.
Materials and lighting go hand in hand. A realistic texture can easily be ruined by poor lighting. As such, you will be using an HDRI image that will serve as an image-based lighting to simulate a real-world scenario.
You can download HDRI maps from this resource site.
Modeling, Lighting & Rendering
In most cases with rendering you’ll be creating a visualization from an existing plan.
Fortunately 3ds Max comes with dedicated importing options. So in this tutorial you’ll learn how to import DWG files/plans and prepare them for a scene set-up.
With materials and lights you’ll also adjust V-Ray’s dedicated physical camera to match real-world camera composition such as focal length and aperture. Pretty cool!
Realistic Grass
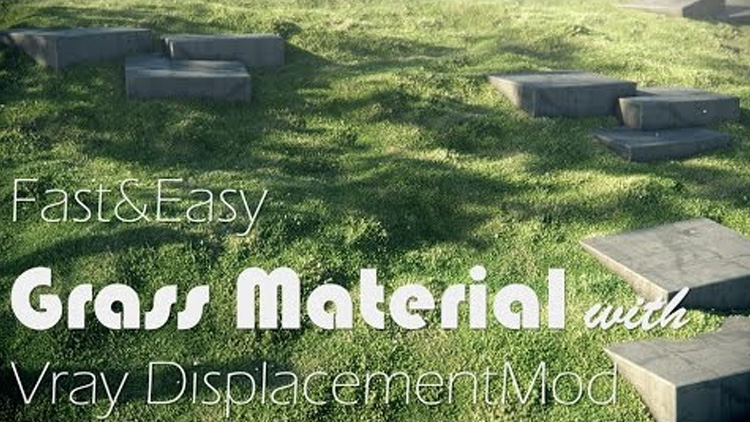
There are several methods of creating realistic 3D grass. One is to use the 3ds Max hair and fur modifier, another is using V-Ray’s fur object and lastly by using textures and displacement maps.
In this tutorial you’ll learn all about the latter option.
While the method does not hold up for close-up shots, it saves on memory and is easy to setup.
You’ll solve several problems along the way such as tiling issues for the textures and preventing the obvious repetition of seamless textures. You’ll also modify bump textures in Photoshop using levels and curves for a more varied look.
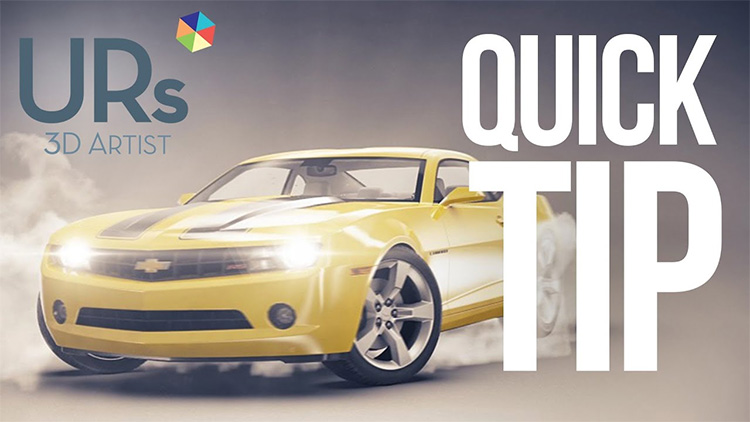
Quick Tutorial: Sampling

From Chaosgroup’s official YouTube channel we have this awesome tutorial that teaches you about sampling and why it’s important.
You’ll learn how to adjust sampling parameters to meet your deadlines such as using a progressive image sampler and setting time constraints for the renderer.
You’ll also learn general graphics theory such as primary rays and secondary rays.
For the final render you are recommended to switch to the bucket image sampler which has better CPU utilization, stable distributed rendering and uses less ram.
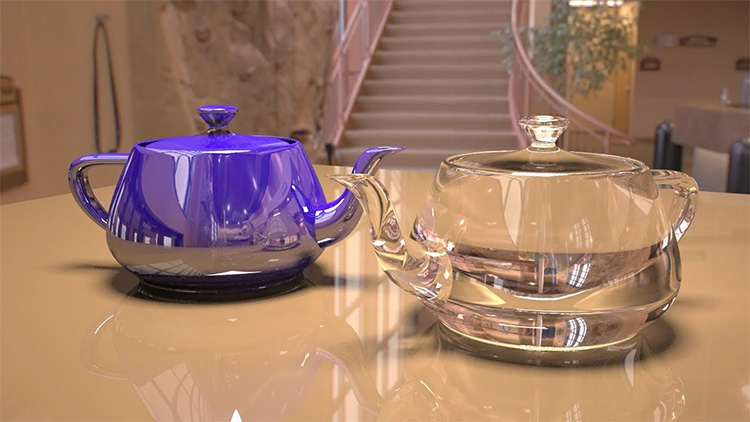
Realistic Glass of Juice
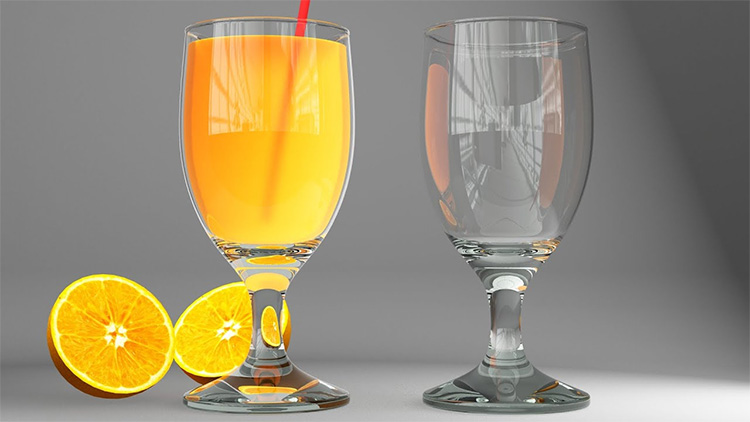
In this tutorial you learn all about how to model glass with juice and render it.
This seems like an easy task but many unsuspecting newcomers fail to account for the refractive parameters.
You’ll start with by creating a spline profile from a vertex interpolation and later converting it to bezier.
You’ll then add the lathe modifier to mold the glass. Afterwards you’ll use the shell modifier to give depth to the glass which is basically required for refractive objects. For rendering, you’ll be using HDRI for realistic reflections and several area lights too.
For more details on general glass material rendering you can check the author’s other video here.
Intro to V-Ray for 3ds Max
V-Ray was mainly made for 3ds Max to meet visualization demands.
Features are first implemented in 3ds Max and then ported over to other applications. So it should be no surprise that this massive video series is quite comprehensive.
You will learn everything that V-Ray can offer.
You’ll start with lighting objects such as area lights and spotlights. Later you’ll deal with lightning environments such as atmospheric fog. You’ll also discover V-Ray’s flexible material system from its general purpose uber materials to its specialized dirt shader.
Finally you’ll tinker with the render settings such as sampling for anti-aliasing and subdivisions. This leads into global illumination with its various algorithms to optimize your render time.
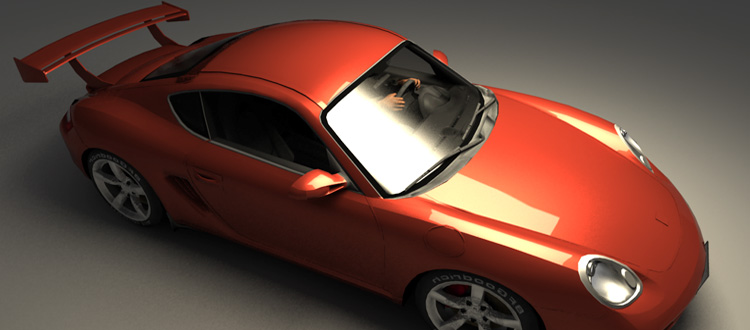
Studio Lighting Techniques
For beginners it may seem like an easy task to illuminate a studio set-up since you have total control over your light.
However, you’d be surprised that it can be quote complicated and not so easy to just rehash a 3-point lighting set-up.
For one, every light has to be spot on especially for objects that require delicate reflections such as a phone or a car.
This video series teaches you how to deal with such challenges. You’ll be decoding photos and renders to understand how light works. You’ll learn how to manipulate lights to direct a specific mood as well.
By the end of this series you’ll be able to light several case studies such as a chocolate dessert, a character portrait, and a beautiful car model.
Product Visualization
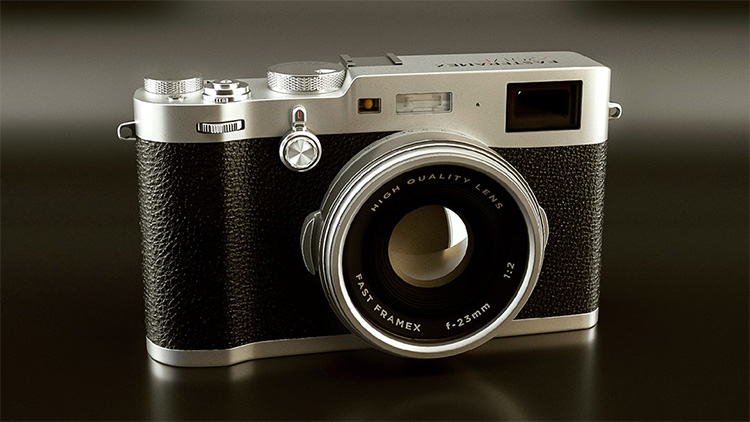
So this video pack builds upon the previous studio lighting techniques, but it’s more specific to product work.
Product visualization is used both before production for prototyping the look of a product, and after production for marketing purposes.
This makes product design an essential portfolio piece for any aspiring 3D artist.
In this series you’ll tackle pertinent challenges such as using a long lens for small product rendering. You’ll also be adjusting the aperture to maintain focus.
Several techniques shown include light linking and anisotropy. Near the end you’ll render it using an OpenEXR format and composite the finished piece in Photoshop.
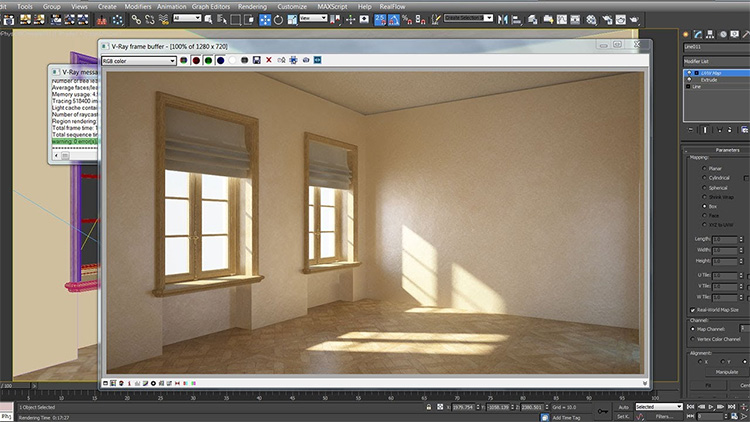
Interior Rendering Strategies
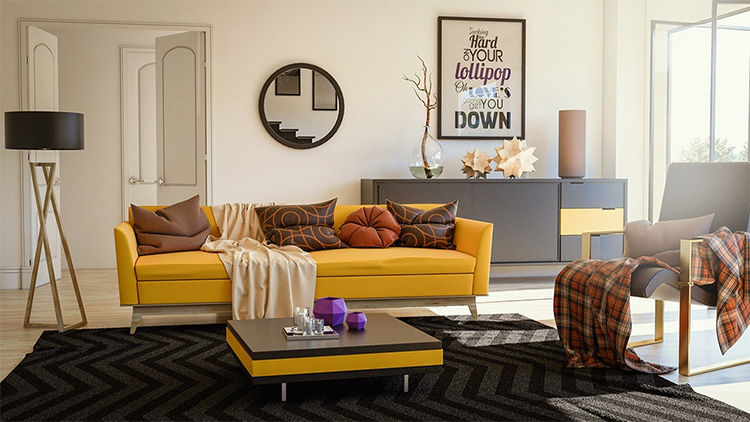
What makes V-Ray stand out from other unbiased renderers like Arnold and Octane? Well one biggie is V-Ray’s interior render set-up.
Due to the biased nature of V-Ray it can cut corners and save calculation time where it matters.
In this tutorial you’ll learn how to setup strategic portal lights and image-based lighting.
For visual consistency you’ll create a color palette using Adobe Kuler. You’ll also create organic materials such as leather, wood, rugs, and also hard-surface materials such as gold, metal, and chrome.
To add details you’ll add displacement material to the geometry.
Then to optimize your render time you’ll increase subdivision samples for specific passes such as reflection samples, rather than adjusting the universal anti-aliasing system. Very complex but an invaluable video for anyone learning this type of work.
V-Ray For Rhino
V-Ray For Rhino: Quick Start
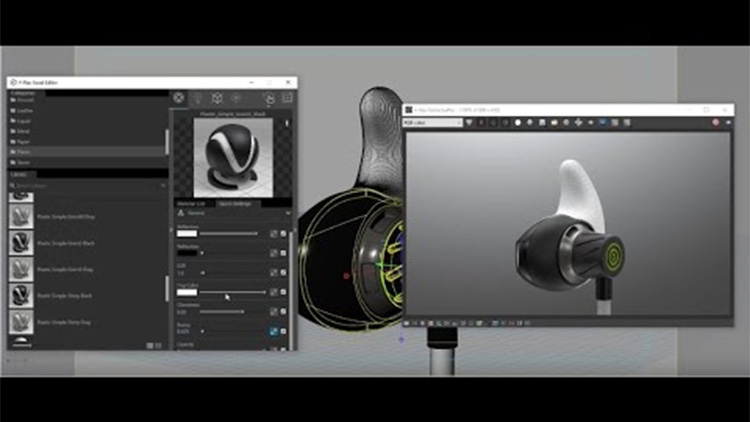
From the official Chaosgroup YouTube channel, here you’ll explore Rhino and render a product visualization: specifically an earbud.
You’ll be introduced to the asset editor where you will handle most of your V-Ray tasks from materials to lights.
You’ll also be using an interactive render to see your adjustments instantly while making several materials such as plastic and silver. This leads into exploring advanced materials such as Sub-Surface Scattering(SSS) which can be a rabbit hole in itself.
For a more detailed write-up and to grab a copy of the scene file download you can check Chaosgroup documentation page.
Webinar Project From Start to Finish
Here’s a neat mix of webinar+tutorial where you’ll learn the pipeline of creating your renders from scratch.
You’ll start by gathering references and choosing your mood. The tutorial explores lighting setup then proceeds to shading.
You’ll also be utilizing Grasshopper, the newly shipped plug-in with Rhino for parametric modeling.
To speed up this workflow you’ll be introduced to isolate rendering. This means only a portion of a scene is updated when you make changes to your materials or lighting.
Apart from other generic concepts you’ll also be using advanced features such as atmospheric effects, render settings, and frame buffer functionalities.
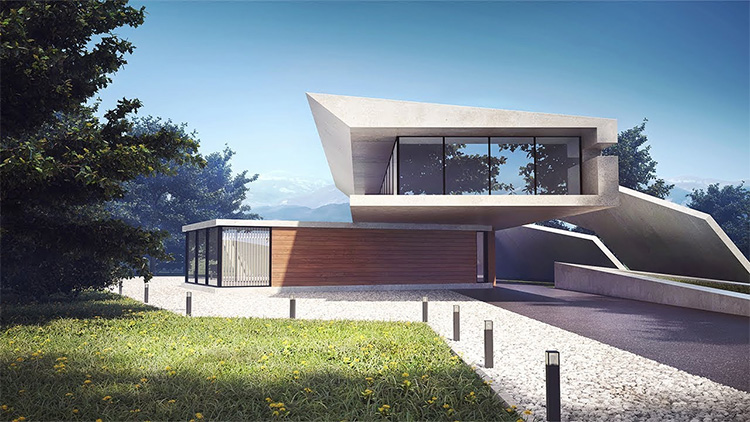
How To Create Lighting
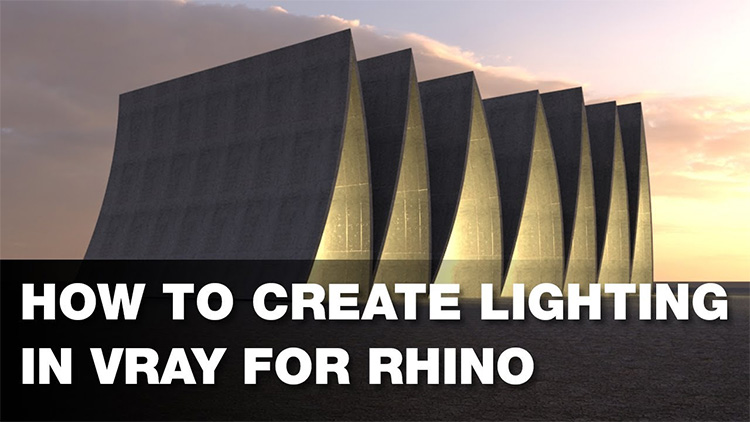
A fairly easy tutorial for beginners where you model and light a cathedral scene.
The main structure is entirely made in Rhino with its spline tools. For the lighting you’ll again use an image-based lighting, which as you might guess is already a standard for lighting a scene.
You’ll also add additional lighting for the interiors which offers a slightly different workflow.
For materials, you’ll be using several presets such as concrete built inside the asset editor. By default it will not map correctly and you learn to solve this by changing the type to box mapping.
Edge Softening
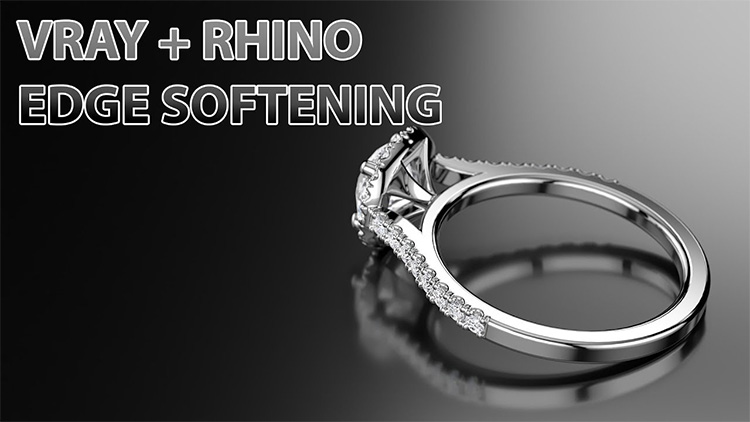
In the real world most natural objects do not have sharp edges. Definitely not as sharp as a CG-rendered object.
To simulate reality an artist might bevel every possible edge, but this makes revisions a bit tricky.
As a solution V-Ray provides an edge softening setup where bevels are made during render and determined parametrically.
With this video you’ll be exploring different settings such as whether to use convex, concave, or both in your scene. In addition, this feature is flexible enough to determine if there are any intersecting geometries that have the same materials.
Interior Night Lighting
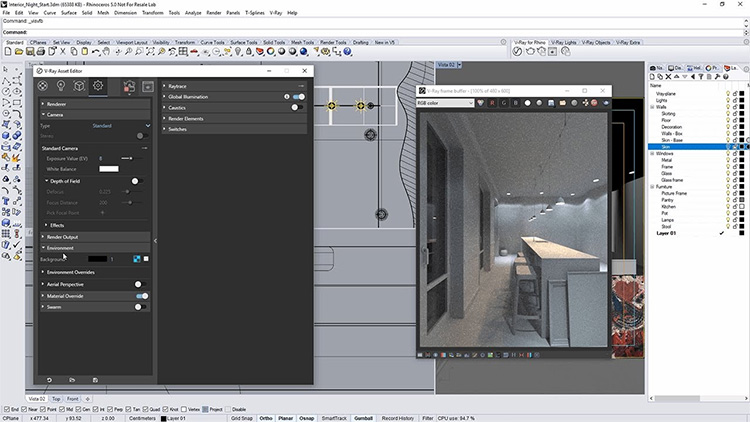
Here’s one more great video from the official Chaosgroup YouTube channel. This one covers lighting techniques for a nighttime architectural interior scene using IES lights, sphere lights, and emissive lights which give off a realistic glare when rendering.
You don’t need to build it from scratch as the scene is provided in the video description(link below).
You’ll learn handy tricks such as avoiding overlapping of lights and model objects. This is really handy to avoid weird artifacts in your final scene.
You’ll also learn how to group lights so you can adjust them with a universal parameter rather than individually. Other fun tips include how to snap lights to bulb housing for true accuracy.
To nab a copy of the scene you can check the Chaosgroup documentation page here and download for yourself.
Basic Animations
Note: the topic discussed here is not character animation, but rather a simple object transformation.
Rhino is mainly a modeling program and does not have a complete animation toolset with it.
Now with that said, camera animation in Rhino with V-Ray is easy to set-up.
You’ll first create an arc spline for the camera to follow. The main thing about animation is it will take a ridiculous amount of time to render.
Fortunately V-ray provides an option to save caches of global illumination calculation to speed up render times without drastically reducing the quality. All of these things are covered in pretty good detail here.
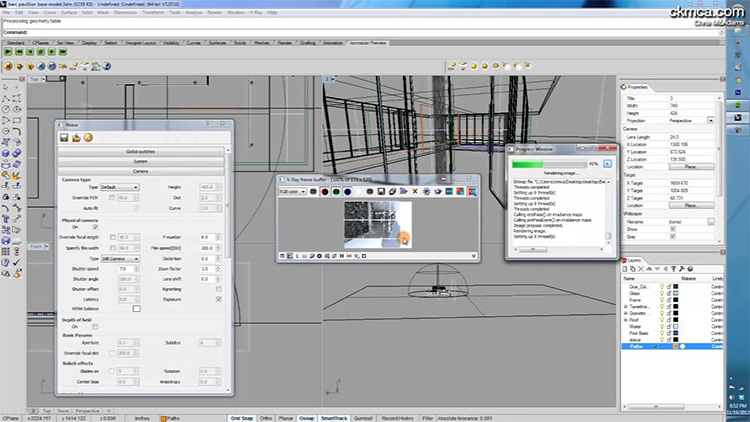
Full Product Design Visualization
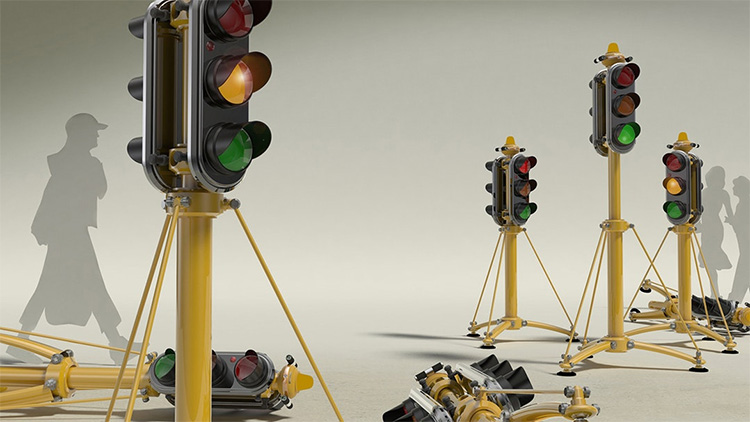
In this video series you’ll model a mobile traffic light design in Rhino and render it with V-Ray.
Through this process you get to explore Rhino’s surface toolset for industrial design which means the output can be used as a prototype for actual production.
You’ll then texture the model with plastic, glass, and metal components.
Finally you’ll create a scene composition to light and eventually render an image for presentation. The version of Rhino used here is a bit old but the concepts all still apply.
V-Ray For Maya
Linear Workflow For Beginners
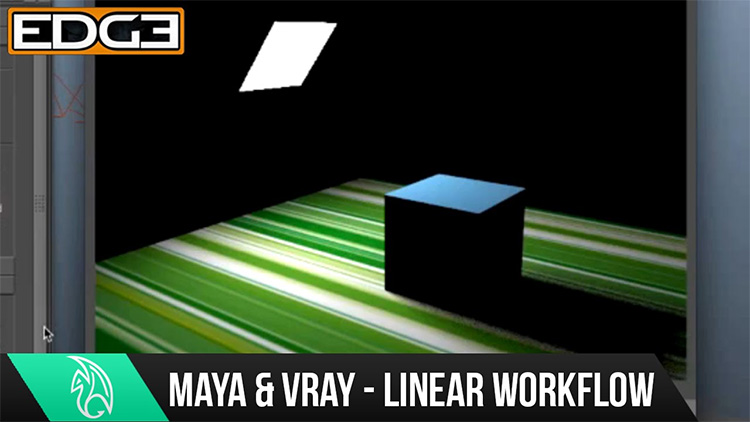
Linear workflow is a type of color management where the set-up properly defines gamma for proper display and calculation. In recent versions of V-ray and Maya, most of the processes have been handled automatically.
However, imported images for shading must still be modified. In this tutorial you learn how to maximize the linear workflow using V-Ray inside Maya.
In the first section you’ll learn why linear workflow is important and how it affects not only Maya, but every 3D program out there today.
You’ll tackle different elements that require a linear workflow such as basic lights, sun, sky objects, and especially shaders. You’ll also discuss global settings such as render sampling and global illumination.
Material Basics
Every external render engine comes with its own set of materials.
V-Ray ships with its uber material where it can accommodate the majority of your needs, with the exception of specific shaders such as a skin shader.
This means you’ll only need to learn a few parameters to get started with texturing.
So in this series you’ll learn about fresnel and index of refraction(IOR) and how to use them to achieve a realistic render, such as having a high IOR value for metallic objects and lower IOR value for non-metallic objects.
You’ll also learn several tips such as avoiding pure black and pure white in any color as it does not produce any value-adding result. These aggressive colors can also cause excessive render times.
In addition, V-Ray also has strong integration with Maya. It can utilize Maya’s built-in nodes for shading networks which is super handy.
This means all your prior knowledge of Maya texturing can be applied to the V-Ray material system.
Rendering Characters with V-Ray
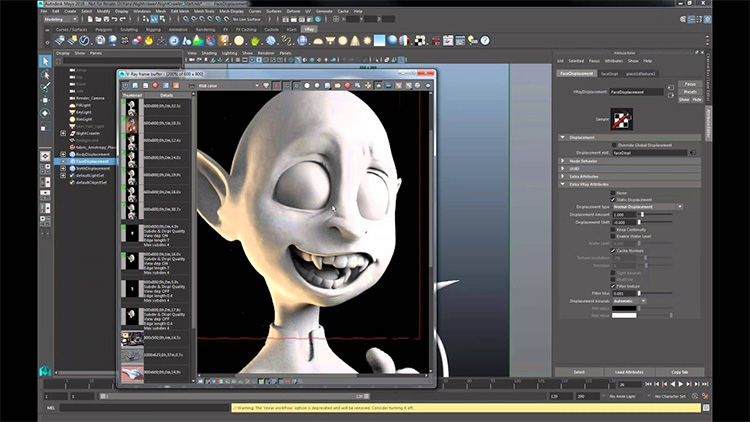
If you have already created hundreds of interior and exterior renders then you might be tempted to skip this one. But if you really want to practice V-Ray with Maya I suggest following it through to the end.
Designing 3D characters comes with its own set of challenges: mainly rendering skin and hair.
But in this detailed video tutorial you’ll learn how to handle V-Ray’s Sub-Surface Scattering shader to bring out the fleshiness of skin.
You’ll also explore V-Ray’s physically based hair material. Other topics include adjusting various displacement settings to match your details with a ZBrush sculpt, a very handy process for artists who constantly import designs between programs.
Create Cloth Shaders
Cloth material comes with its own set of problems while rendering.
They can’t be too shiny as they will end up looking metallic. They also can’t be too rough as they can become dull.
Thankfully this guide will show you how to create cloth shaders in V-Ray(the right way).
With the help of the facing ratio node(i.e. fresnel) you’ll make various types of clothes such as soft, satin, and royal velvet.
The techniques shown here can also be applied to other third party render engine which makes this tutorial all the more valuable. You can download the project files here to follow along.
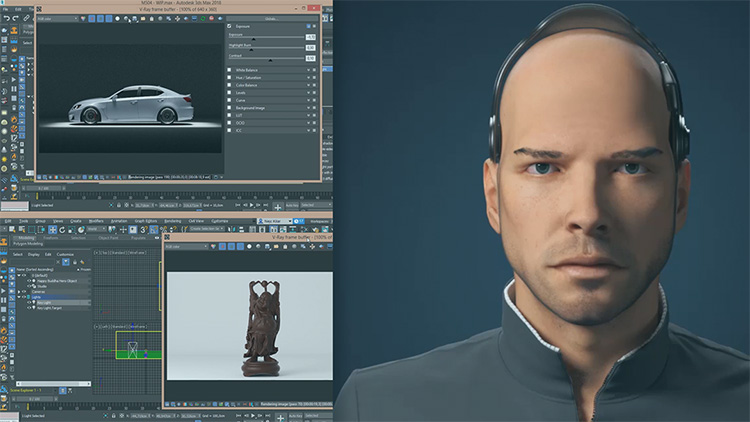
Fundamentals of V-Ray For Maya
Pluralsight has some of the best online video training for 3D work and this series proves it. Here you’ll get up to speed with V-Ray for Maya lightning fast.
You’ll learn the user interface and workflow for an unbiased render engine, which might be confusing to some users who come from a background with renderers like Octane.
While V-Ray is not necessarily a one-click render process, it’s also not complicated to learn. Once you get the mechanics of V-Ray you’ll be able to control how your scene looks and potentially save yourself days of render time.
Throughout this course you’ll learn the many types of lights and materials available to V-Ray users. By the end of the series you should be able to render any exterior still image ready for showcasing in a portfolio or otherwise.
Photorealistic Scene Design

Unless you’re employed in a highly specialized studio, more often than not you’ll wind up with the task of rendering images.
Chances are you also get assigned with modeling and UV unwrapping the assets. In this tutorial you get to practice and gain confidence in these areas by learning the proper workflow to create a photorealistic scene design with V-Ray.
You’ll start with analyzing references and then blocking them out in 3ds Max.
You’ll then add additional details from an external plug-in such as debris maker.
After the setup you’ll create materials and light for your scene using V-Ray. Lastly you’ll render passes such as atmospheric effects and composite them in Photoshop to accommodate sample client revision notes.
Lighting a Scene for Feature Film
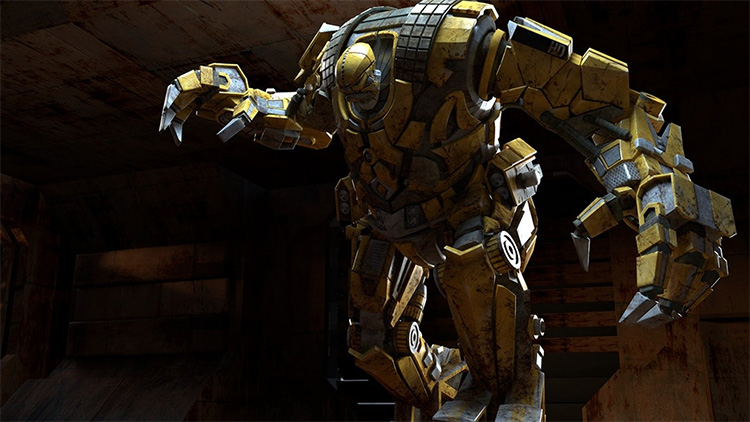
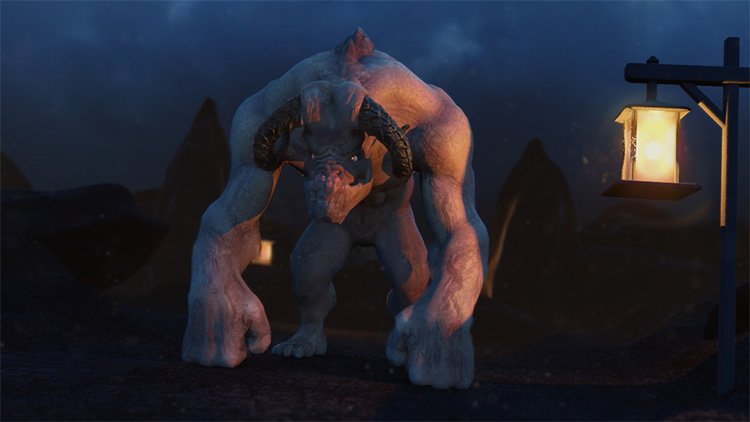
The movie industry is huge and it’s often a major aspiration for newer 3D artists. If movies are your thing then this video course is a must-watch series where you’ll learn how to light a massive robot for a feature film.
What makes this different from any other lighting scenario is that in feature film there is little to no limit on how detailed you can be.
As such, you’ll be dealing with a higher amount of data than usual which can complicate things over time.
But for this video series you start your scene with image-based lighting that mimics real world reflections.
This is complemented by the conventional and effective four-point light set-up with the help of the V-Ray rectangular and sphere lights. For the render settings, you’ll explore global illumination with various algorithms such as brute force and light cache.
You’ll also be using the Alembic format(instead of the FBX format) to handle heavy assets from Maya to Nuke for compositing and further lighting adjustments.
As a disclaimer: the V-ray version used in this tutorial is a bit old, but the majority of the concepts still apply even to this day.
3D Concept Creation
Concept artists often work from the concept pieces of 2D artists for faster iteration.
However, due to much stronger processors nowadays we’ve seen 3D become a valuable toolset for concept artists to meet challenging pre-production deadlines. Especially with the ease of 3D character creation you can effortlessly create accurate perspectives.
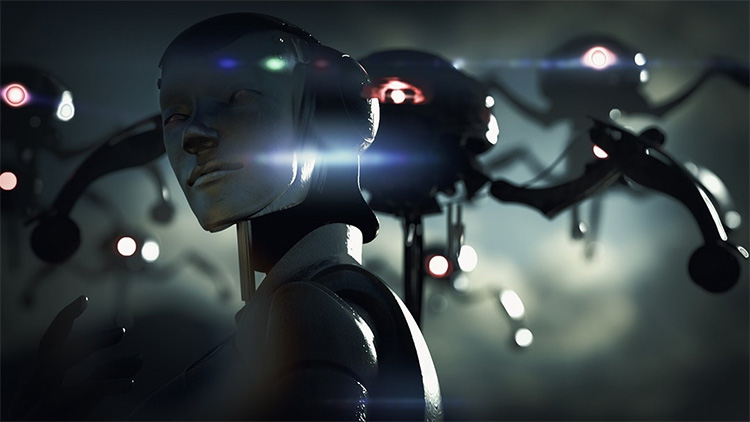
So with this video series you create a sci-fi concept art scene with the help of Maya for asset generation and V-Ray for rendering.
You’ll also use Mari to enhance your textures. At the end you’ll tackle some basic image adjustments in Nuke which shows one of many concept art workflows from start-to-finish.
V-Ray For SketchUp
Quick Start: Basics
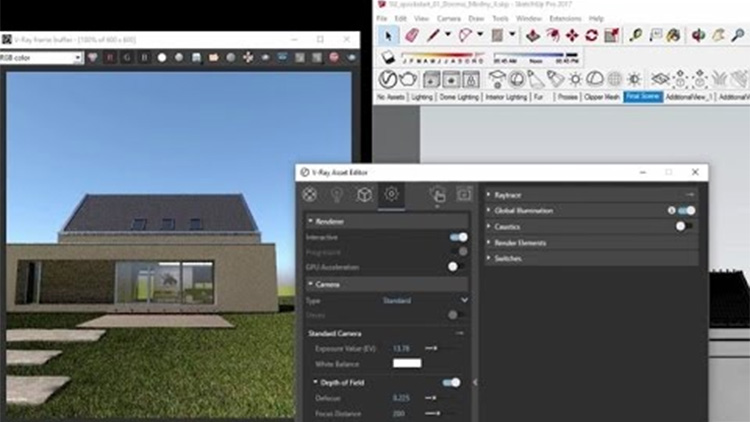
With V-Ray installed you’ll get additional toolbars that handle V-Ray objects within SketchUp. This is useful if you’re in this software on a daily basis.
Now with this tutorial you end up spending a lot of time in the asset editor which provides access to materials, lights, and geometry.
With the material editor you’ll be able to start your shading processes immediately as it comes with a comprehensive set of presets from walls, floors, metal, plastic, and even glass.
Then with the light editor you’ll be able to add lighting such as mesh and plane light. You can easily change lighting based on time with the click of a button. The time of day also updates not only the direction of the light but also its color.
For faster interaction this video teaches you to use V-Ray’s interactive renderer. You’ll also learn several techniques such as easily selecting materials with the paint bucket tool by holding the alt key, or how to automatically focus the camera on the selected object rather than adjusting the focal distance manually.
To follow along with this video be sure to grab the scene file on this page.
Quick Start: Exterior Lighting
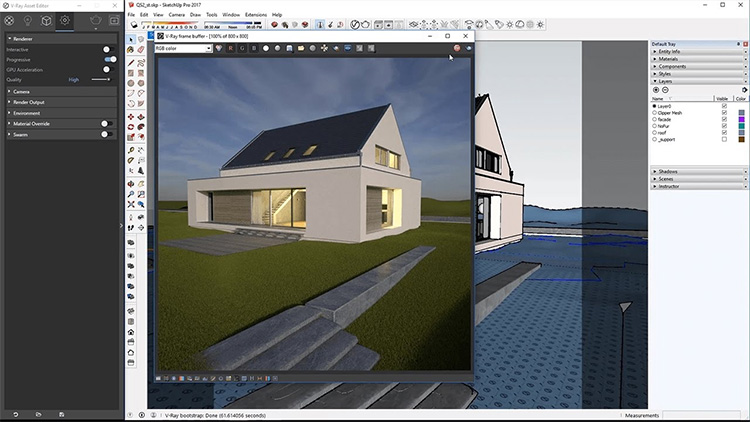
Here’s another beginner tutorial with a heavy focus on lighting. Here you’ll learn how to illuminate an exterior scene from scratch.
This forces you to use the sun and dome light for the environment and several artificial lights with a mesh light for the interior.
You’ll modify the sky model to determine the mood of the environment such as weather conditions like overcast. You’ll also adjust the turbidity to determine some interesting atmospheric settings.
The sun’s multiplier is also important: this determines how sharp the shadows will be in your scene.
Chaosgroup has an even longer write-up of this tutorial right here if you wanna check it out.
Quick Start: Interior Lighting
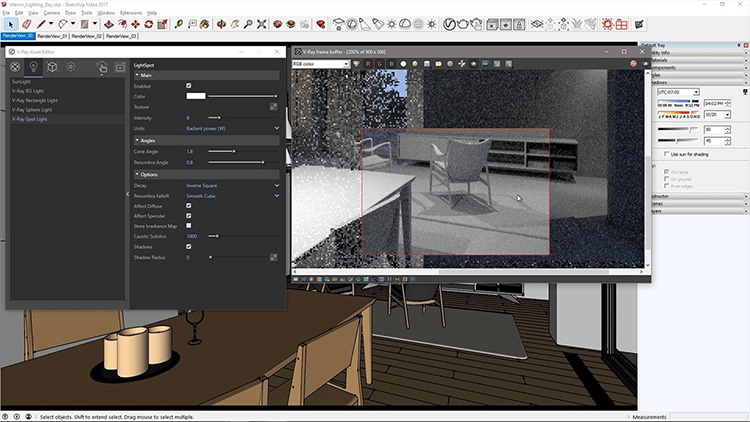
Building on top of knowledge from the previous tutorial, this video complements nicely by show you how to light an interior scene.
Throughout this tutorial you learn efficient and effective workflows by dividing tasks into lighting and shadows.
You’ll first use material override to focus on lighting but also learn when(and how) to disable it. This follows by showing you how to adjust camera exposure values. Other topics covered include plane lights where rendered windows will serve as portal lights.
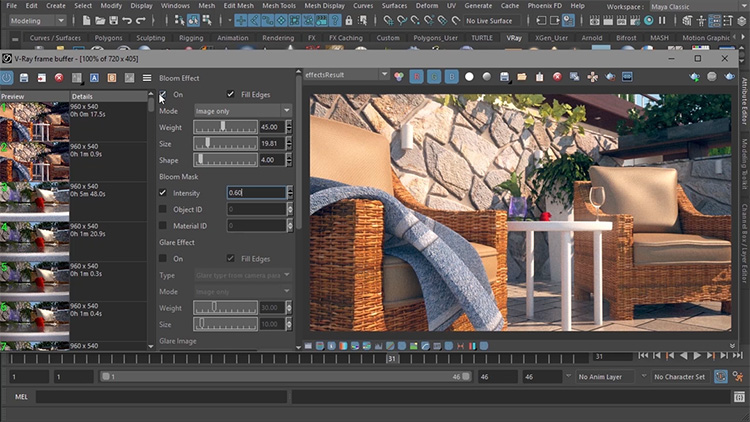
After the render you’ll perform post-processing effects within V-Ray itself. One example is how you change the burn to 0.5 so the highlights are not as harsh. This video also explores the bloom and curve control.
SketchUp + V-Ray Materials
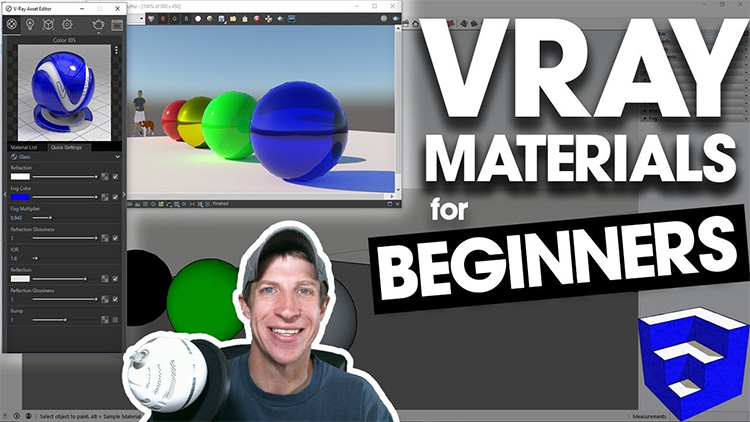
With the help of the material editor you’re able to texture a scene very quickly.
The material editor lets you organize your materials so fast and keep them organized for all projects. You can also change the material preview option from fabric, wall, floor, or just a plain shader ball depending on your needs.
Throughout this video you’ll explore built-in presets in the material editor such as plastic and paint materials.
You’ll also be exploring parameters such as diffuse and reflection colors. As materials are also a factor for render times, you’ll learn max depth settings that affect glass materials among many other things in your scenes.
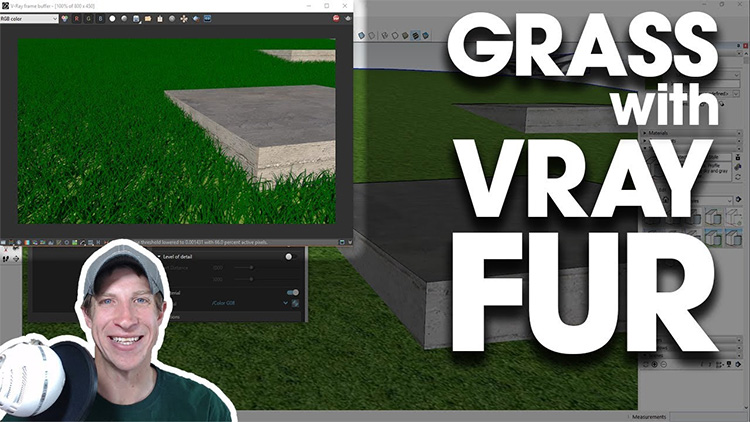
V-Ray Grass in SketchUp
An architectural scene can easily appear dull just by sticking to modern materials such as concrete and glass.
One way to liven up a scene is to introduce organic elements. Not surprisingly, V-Tay comes with its own grass generator.
To get started you’ll first need to group your target object.
Then from the V-Ray Objects toolbar select “Add Fur to Selection”. A good thing about this feature is that it doesn’t physically exist within SketchUp but is still rendered on the fly.
This means you’ll still have a real-time viewport no matter the size of your project.
You’ll then learn how to adjust the grass to your taste such as changing colors using the asset editor.
It’s even possible to stylize the grass’ looks by modifying its length, thickness, taper, gravity, bend, and a few other properties. Finally near the end you’ll optimize your rendering with a culling option by showing less grass when the camera is further away.
This massive list should cover all the major aspects of V-Ray in the biggest 3D platforms available.
But rest assured: if you don’t see what you want in this list you can always search. There are hundreds of great V-Ray tutorials out there just waiting to help you get started.
Author: Ben Traje
Ben is a stylized character rigger based in Davao City, Philippines. Proficient in Maxon, Cinema4D, and Autodesk Maya, he's available for remote freelance work with plenty of samples in his portfolio.
")

")


_Clara.io_Screenshot.png)