Learn Unity 2D: Best Tutorials & Courses For Beginners (Free + Premium)
For those looking to learn game development there’s no better place to start than Unity. It’s the game engine of choice for indie developers and a popular tool among major studios.
Whether you’re making a sidescroller or a top-down shooter, there are huge benefits in starting with 2D work since it’s so much simpler. And with websites like opengameart.org you can find plenty of 2D assets to use in your projects.
Unity 3D doesn’t have a dedicated 2D engine like GameMaker or Godot, but it’s perfectly capable of handling all your 2D needs.
Unity’s physics engine ships with rigidbodies and collision components designed specifically for 2D games, meaning you can get 2D behavior right out of the box.
So let’s dive into these tutorials and start learning!
Free Tutorials
One of the best things about Unity is the large community it has attracted over the years.
Lots of talented artists and game designers have shared their expertise with the engine in the form of online tutorials. With these tutorials you can learn game development free of charge.
The best part of these tutorials is that many of them are in real-time. This makes it not only easier to follow along, but you also get a real sense of how long it takes to make a game.
Intro to Unity
This brief introduction to Unity by Daniel Wood is everything you need to get started with the game engine. He’ll walk you through downloading and installing Unity to get you moving from square one.
Unity comes with everything necessary for making games and it can be intimidating when you first open the program.
After installing Unity, Wood will walk you through the complex GUI.
Before you can start making games you need to know what you’re looking at. Once you learn, for instance, the difference between the hierarchy and the scene view, you can safely move onto practicing your own 2D projects.
2D Movement
If you’re just starting out with Unity then you’re probably itching to make your dream game. Maybe it’s a 2D platformer like Sonic the Hedgehog or even the ultimate Metroidvania.
Unfortunately before you can run around the screen collecting golden rings, you’ll need to build a player controller.
Building a good character controller can be a challenge even for seasoned developers.
Lucky for you this tutorial by expert game instructor Brackeys will show you how to get a 2D character up and running in a matter of minutes.
Using Brackeys’ character controller will allow you to get started quickly so that you can focus on building the rest of your game. Later after you’ve spent more time in Unity you can try making your own character controller.
Tilemaps
Tilemaps are a great tool for making 2D levels. There are a lot of benefits to using Tilemaps which is why they’re still a popular choice for 2D developers.
Games like Mario and Pokemon used Tilemaps to save space on their limited hardware.
Modern games like Stardew Valley and Spelunky use Tilemaps to make level design more modular.
Unity has several tools that make using Tilemaps easy. To create your own, all you’ll need is an image containing the tiles you want to use.
Unity can slice the file into individual tiles and add collision for you.
Make a 2D Platformer (Basics)
Here’s another guide from Brackeys that covers the basics of making a 2D platformer complete with a working player and a scrolling background.
You’ll learn a lot of techniques in this video. There’s a lot more involved with making even a very simple game like the original Super Mario Bros.
Brackeys will teach you how to handle parallax scrolling and tiling so that your levels have depth and emersion.
He’ll also cover character movement and animation so that you can traverse your 2D world.
Full RPG Tutorial
2D RPG’s have remained popular over the years for a variety of reasons. Thanks to the explosion of indie developers we’ve seen new games released that both harken back to and expand this genre.
With Unity you can make your own 2D RPG. This video series by gamesplusjames will teach the basics of creating a top-down, action RPG.
You’ll learn how to build 2D worlds with sprites and add a character controller to make your player move and attack.
By the end you’ll know enough to make your own simple RPG game.
How To Make Sprite Sheets
One of my favorites parts of game development is seeing animated characters come to life in the game world. And with Unity it’s easy to animate 2D characters.
But how do we get frames for our animations?
That’s where Sprite Sheets come in. Arranging the frames of an animation on a single image will make it far easier to animate.
Making a Sprite Sheet in Photoshop is a somewhat tricky procedure. You’ll need to create a new image with the necessary dimensions depending on the size of your sprite and then manually lay out the frames. That’s where this video comes in to help.
Once you’re done you’ll have a file that’s easy for Unity to slice and turn into animations that you can call from script. With some practice you can quickly build pixel art games without a struggle.
Rig & Animate 2D Characters
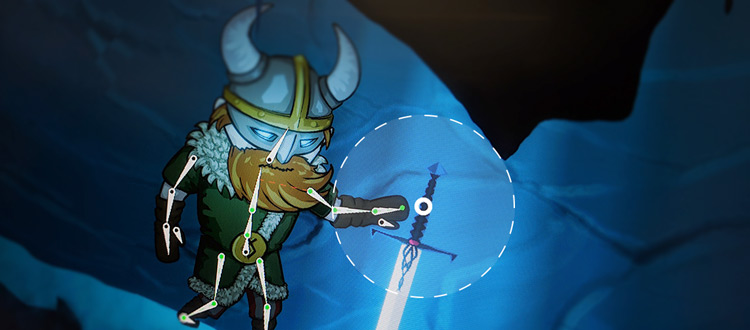
Last year Unity introduced new animation features. Now game developers can rig their 2D sprites right inside the Unity editor!
Rigging your 2D characters will make animating them much easier and faster than drawing each frame by hand.
Using the Sprite Editor in Unity, sponsored instructor Sykoo will show you how to rig a 2D character and animate it. You can use this process to animate anything you want.
Once you’ve created your animations using the bones of your rig, you can use Unity’s Animator tool to control the transitions between your various animations.
2D Melee Combat
In this Unity tutorial by Blackthronprod you’ll learn a good method for adding melee combat to your game.
With just a few scripts you can design your character to slash enemies with a weapon.
By the end of this video you’ll have a working attack and enemy health.
Blackthronprod shows you how to easily add particle effects when the enemy is hit to create visual feedback. This technique will work for almost any weapon you can think of. With some simple tweaks you can quickly create a spear or a dagger for your player to use, or really anything you want.
After you’ve created the scripts Blackthronprod will teach you how to customize the hit box, damage, range, and attack speed from inside the Unity editor.
2D Shooting
In this tutorial from Brackeys you’ll get an in-depth look at shooting bullets in Unity.
You’ll learn the differences between two types of shooting: prefabs and raycasting. Each has its own strength and weakness so it’s up to you to decide how to use them.
Using a character that looks suspiciously like Samus from the Metroid series, Brackeys walks you through firing bullets using prefabs before moving onto raycasts.
By the end you’ll have a thorough understanding of each method.
2D Cameras
A good camera system can make or break your game.
With the introduction of Cinemachine Unity now provides many cameras for you.
Using the Unity 2D camera will provide you with a virtual camera that can be set to target the player object. With Cinemachine you can very easily create a perfect 2D game camera.
Brackeys will show you how to adjust the settings to get a wide range of behaviors including smoothing and a look-head feature.
Having a solid camera will instantly improve your game no questions asked.
Make a Health Bar
In this basic tutorial from Code Monkey you’ll learn how to create a health bar using sprites and a simple script.
This technique will work for any game that you want to add a health bar onto.
With Unity it’s possible to create extensive UI systems with menus and stats or anything else you could want.
Starting with the basics, you’ll see how easy it is to add a graphic to your heads-up-display, or HUD for short.
Next you’ll create a new C# script that controls the size of the graphic.
For a bonus effect Code Monkey will show you how to make the health bar flash when it’s nearly depleted.
Creating UI in Unity
Every game includes some example of a user interface. Whether it’s the start menu, pause screen, or a health bar, UI is a substantial part of game development.
And thankfully Unity comes with a powerful set of tools for creating UI elements for every one of your games.
This video by Blackthronprod will cover everything you need to know about UIs in Unity.
Using the UI Canvas, Unity developers can easily adapt their elements to different displays, making it easy to port their games to different devices.
Touch Controls
One of the best things about Unity is the robust cross-platform support.
In many ways Unity is perfect for mobile development and adding touch controls to your game is a simple process.
This video by Brackeys will get you started making your own mobile games.
He uses iOS but if you’re working with Android the process is similar.
You’ll learn how to connect your device to Unity for real-time testing before adding touch controls and UI elements to your app.
By the end you’ll know how to add a joystick to your mobile game and use it to control a character.
Working with Effectors
Effectors offer a powerful way to add complex physics and other behaviors to your game without having to write any code.
Adding an Effector to a game object will change the way it behaves in the game world.
Effectors are a very useful technique that can save you a lot of trouble in the long run.
For example, the Buoyancy Effector can be used to add realistic floating effects to your game.
And with the Platform Effector you can create a one-way platform in seconds.
There’s a lot more you can do with Effectors too. Experimenting with new tools is part of the fun of game development, so be sure to play with what you’ve learned.
Full Animation Tutorial
This video will walk you through the entire process of animating a 2D character in Unity.
You’ll learn all about setting up and controlling sprite sheet animation which is crucial for 2D work.
First you’ll see how to create individual animations like running or jumping. Next you’ll move onto Unity’s Animator tool to create a finite-state machine to control the flow of your animations.
To complete the tutorial you’ll see how to call the animator from script and trigger animations based on player input.
By the end you’ll know exactly how to make your own 2D animated characters with confidence.
Pixel Art Lighting
Looking into 2D lighting can be dizzying. But with tis guide you’ll learn about creating advanced lighting effects in Unity fast.
Using free art from the asset store you’ll learn how to build a night scene complete with streetlights and windows.
And Unity’s lighting system it’s possible to have pixel art interact with the light source. This can be used to create a variety of effects including a day and night cycle.
2D Drop Shadows
This ten-minute video by GucioDevs teaches a neat technique for creating a drop shadow that’s great for top-down 2D games.
Using a custom script, GucioDevs creates a copy of a sprite but darkened and below the original image.
Making it offset creates the illusion of a light source above the screen. Pretty cool!
If you want people to play your game you’ll need it to stand out. Simple effects like this can go a long way towards making your game fun and unique.
Simple Scene Setup
Here Code Monkey offers some tips and tricks for setting up your 2D scene.
Unity is, at its core, a 3D game engine. While developing 2D games in Unity is encouraged, there’s some things you can do to make working in 2D easier.
After setting up the scene and camera, Code Monkey walks you through importing the utilities package which contains many useful helper tools.
You’ll use one, TextPopMouse, to add text at the mouse position during runtime. Use it to get some quick visual feedback while you’re developing your game.
Pong Game in 20 Minutes
Remaking Pong is almost a rite of passage for game developers. It’s a great place to start with learning any game engine, including Unity.
In this tutorial Tanay Singhal will teach you how to setup the scene to recreate the classic Atari game Pong.
In less than 20 minutes you’ll learn how to move the ball and paddle as well as create a win condition.
It’s easy to expand this simple demo into a larger game as well. Try adding other features and effects to make your Pong game more unique.
Getting Started With 2D Game Kits
This freebie comes directly from the Unity team as guest host Aurore Dimopoulos explores the 2D Game Kit provided by Unity Technologies.
With the 2D Game Kit users can make games without having to write a single line of code.
The kit includes a working demo of a 2D game as well as reusable assets that beginners can use to construct their own games.
Complete with art, sound, and premade behaviors, the 2D Game Kit assets are a great way to learn level design and familiarize yourself with the Unity editor.
Premium Courses
With these premium courses you’re able to learn Unity a bit faster and with far more detail than the free stuff on YouTube. These also give you a chance to learn from some of the best instructors in the business.
They say good habits make good work.
With the following courses you’ll be building a strong foundation of habits that will help you quickly progress in your Unity game design practice.
Complete C# Unity 2D Developer
This course on Unity Development is everything you need to get started with C# and Unity.
You’ll learn C# and scripting while making video games in a fun and engaging environment.
Available on Udemy, this course focuses on building a strong foundation for game design and game development. You’ll learn by creating playable games that would be good enough to include in a portfolio.
You’ll start with the basics of coding in C# before moving on to making your own Brick Breaker clone. As you progress you’ll eventually learn how to make a 2D platformer using Unity’s Tilemap tool.
Complete Unity 2D & AI for Games
So here’s a very detailed 2D Unity course designed to take you from beginner to advanced as quickly as possible.
Funded by a wildly successful Kickstarter, this course teaches crucial concepts for coding in C# as they relate to game designers.
After learning about Unity and creating a simple 2D game you’ll move onto building your own path-finding algorithm. Know as A* (pronounced “A star”), this path-finding algorithm is widely used within the games industry.
You’ll get access to all the source files needed for the projects as well as some instructions on using Photoshop for game development.
Exploring the 2D Features in Unity
Here’s a lengthy and detailed series that focuses on the basics of 2D development in Unity.
This is specifically for beginners looking to get their feet wet with Unity’s 2D features.
You’ll first cover the basics of setting up a 2D project before Unity guru Joshua Kinney shows off Unity’s sprite tools in great detail.
Near the end Kinney will reveal the secrets of animating with the Unity game engine to help all aspiring game designers add life to their work.
Character Control Fundamentals
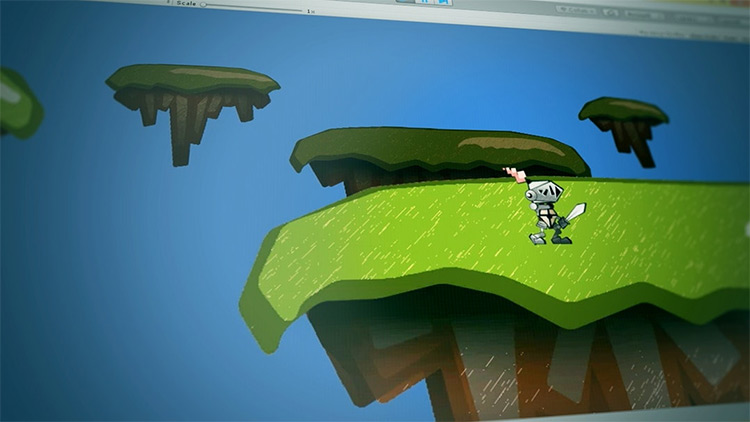
Creating a player character is essential to almost every video game.
Unfortunately it’s also one of the most difficult things to do. Even senior developers can spend weeks getting the player to feel just right.
Beginners often find a pre-made controller they can use because they just want to make games as quickly as possible.
At some point, however, you’re going to need to write your own.
This course by animator Brian Sinasac teaches everything you need to know about creating a 2D character in Unity.
By the end of this series you’ll understand how to build a 2D character controller and have the skills necessary to start your own side-scroller game.
Creating a 2D Animated Character
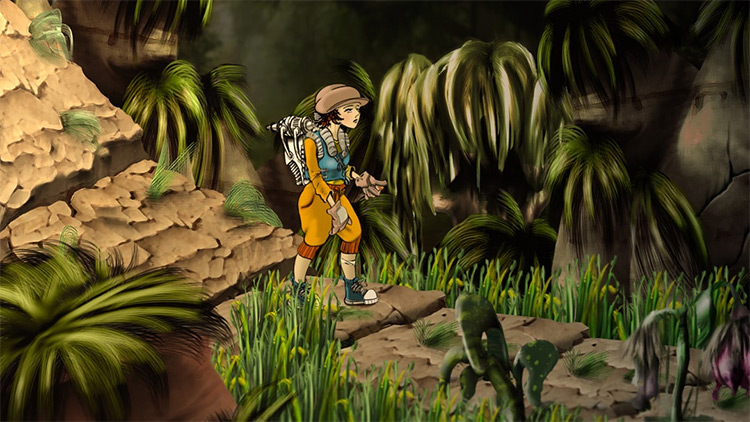
Looking to learn to rig and animate 2D characters from inside the Unity editor? Then this is the video series for you.
In this Pluralsight course, game design tutor Shane Wheldan teaches the fundamentals of using bones to animate characters in Unity.
He covers everything from Z-order to Inverse Kinematics in these lectures.
Using Unity, Spriter, and Photoshop, you’ll learn everything you need to make your own 2D video game characters just like the pros.
Character Interactions
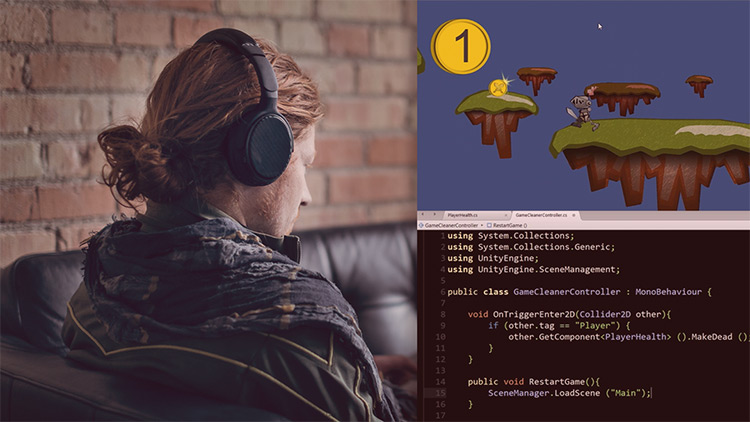
You might be having a blast running around your game world, but unless there’s something to interact with, it gets boring quick.
Interactions between game objects is usually handled with a trigger.
This series will focus on using triggers and creating interactable objects.
In the first section you’ll learn how to create an item for the player to pick up. Then you’ll learn how to use Unity’s UI system to give the player feedback about the interaction.
By the time you’re done you’ll be well-equipped to build your own side-scrolling platformer with Unity.
Creating Collectible Items
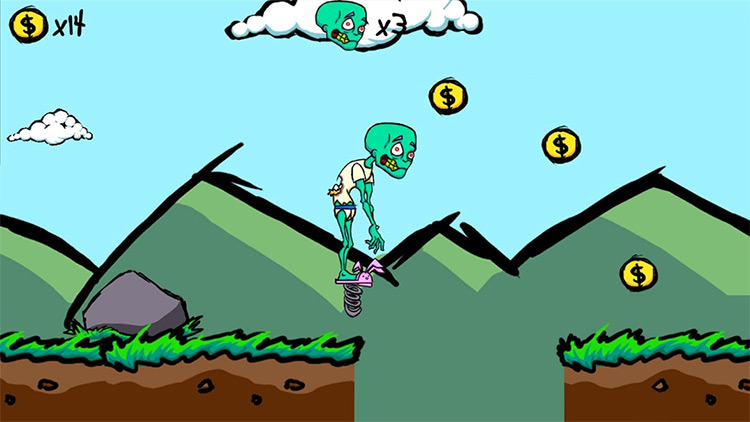
Collectible Items are a feature of many games.
They give the player an objective and can be used for a variety of purposes.
In this video you’ll create a coin for your player to collect. You’ll learn how to create a script to control the coins and update the UI after they’ve been collected.
As a bonus the instructor will show you how to reward the player with an extra life after so many coins have been collected. Reminds me of an Italian plumber I used to know.
Unity 2D Physics
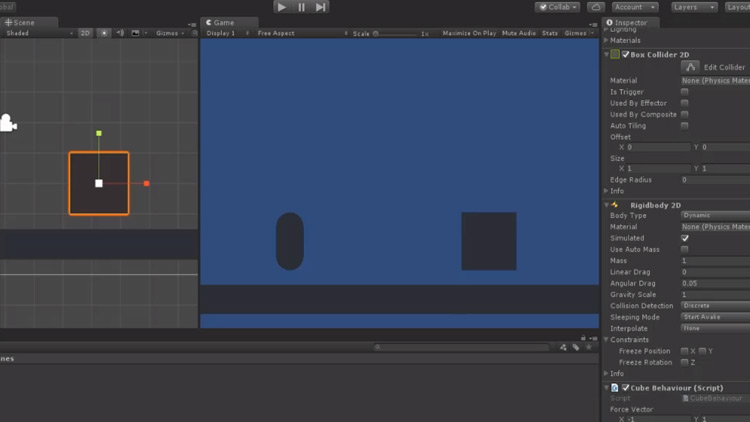
Unity’s physics engine makes it easier than ever to make your own games. This tutorial focuses on using this engine to get the most out of your 2D work.
You’ll learn all about Rigidbodies and Colliders as you build your own 2D projects. The series is long but first you’ll work with the physics tools provided by the editor. Eventually you’ll move onto scripting unique physics behaviors of your own.
When you’ve complete this course you’ll have an advanced understanding of Unity’s physics engine and how to use it to make your own 2D games.
Note this course does come from Pluralsight which offers everyone a free 7-day trial with access to all courses during that period. So if you have time in a given week you can sign up to Pluralsight for free, dig through their Unity content, then cancel before being billed.
Granted their courses are so detailed and useful and it may be worth subscribing for a few months just to go through everything!


