Best Unity 3D Game Design Tutorials & Video Courses For Beginners
Unity 3D is an excellent choice for anyone getting into game development.
It’s perfect for both hobbyists and professionals, and boasts a range of tools that are used even in AAA studios.
And whether you’re an experienced programmer or a complete beginner, you can learn to make video games just by following these tutorials and making time to practice.
There’s so much cool stuff in these tutorials too. For example, using the 3D editor you can quickly build your own worlds complete with realistic physics. Adding scripts is also a breeze in Unity.
This post includes both free and premium tutorials so you can decide which path is best(likely a mix of both).
Some of these tutorials are almost rites of passage—for instance the Roll-A-Ball Game—while others are more specific to certain tasks.
So dive in and get started! With this many tutorials you should be able to create any game you can think of.
Free Tutorials
Unity 3D has been around for a while, so you can bet there’s a blog post or video guide about almost everything.
But if you aren’t sure where to start as an absolute beginner, well the best place to start is usually the basics.
That means learning the editor and the basic tools you’ll need to master in the world’s most popular game engine.
How to Make a Video Game in Unity
Brackeys is one of the most popular Unity instructors on YouTube.
His videos often hit millions of views pretty fast, much like this one. In this quick introduction you’ll learn how to use the tools provide with Unity to build a simple endless-runner style game.
Don’t’ be fooled by the shoot length of this video. There’s a lot packed in here.
Brackeys walks you step by step through the entire process of building a simple Unity game which is hugely valuable to newcomers.
By the end you’ll have something you can be proud of as well as a better understanding of what it’s like to make a game in Unity 3D.
Make Games Without Code
One of the best things about Unity is the large number of resources available on the Unity Asset Store, including free packages with game assets provided by the Unity Team.
In this tutorial sponsored by Unity, Brackeys will introduce the Unity 3D Game Kit.
After a brief demonstration of what the 3D Game Kit includes, Brackeys shows you how to use the assets provided in the example to create your own scenes without having to write a single line of code.
Making Terrains
Picture in your mind lush forests with mossy trees and boulders that lead into a desert oasis.
Creating such a world is possible in Unity, and it begins with making terrain.
Unity’s terrain editor provides everything you need to create your own 3D worlds. In this beginner’s guide to the terrain editor by YouTuber Sykoo, you’ll get a step-by-step demonstration of the tools and processes you need to practice.
Once you learn the basics you’ll be able to create your own mountains and forests in Unity complete with textures and 3D objects.
Taking a stroll through your own 3D world is a joy unique to game development.
Character Controller with Animations
Unity ships with a powerful set of Animation tools and they’re worth learning.
Users can import animations from other programs, or create their own right in the Unity editor.
With the Unity Animator, game developers can create flowcharts for their animated objects and characters. In this tutorial by Single Sapling Games you’ll learn how to use an animated model and take advantage of Unity’s features to make animating easier than ever.
Typically, game developers receive animated models from an artist fully rigged for animation.
There are many types of animated rigs and Unity gives you plenty of options for working with them. But be sure to experiment on your own to fully explore everything Unity offers for animated effects.
Shooting with Raycasts
Raycasts are a popular tool in game development because they’re a lightweight and efficient way of gathering information about the game world.
In this free tutorial you learn how to make a first-person shooter using raycasts.
Using this technique you can create a working gun for your game in only a few minutes.
Brackeys adds polish to his gun in the form of a muzzle flash and bullet impact effect. At the end of this video you’ll learn a neat method for creating an automatic gun weapon too.
Scripting Basics in 1 Hour
At some point you’ll need to write some scripts if you want to take full advantage of the Unity game engine.
This video by Raja from Charger Games takes you through the basics of scripting in Unity.
It is an hour-long introductory tutorial but well worth it. Here you’ll learn how to create scripts and use them to move objects in the game world. Raja includes detailed explanations of the process every step of the way.
This video moves slowly so beginners can take their time and understand the topics discussed. By the end you should know how to use functions and variables to create simple behaviors. But this is just the beginning of scripting so be sure to push further ahead on your own.
Roll-a-Ball Game
This tutorial by Adam from the Unity Team is an excellent starting place for beginners.
I’ve often pointed students to this tutorial because it covers all the basics of creating a simple game.
Adam covers the entire process of creating a third-person style game complete with player movement and objectives. For example, you’ll learn to move an object in 3D space and how to handle collisions.
As a bonus: players can pick up collectibles in the level too.
This gives the player an objective to accomplish while exploring your virtual world.
Lighting in Unity
The Unity game engine has a lightning system that can be confusing to those just getting started.
But thanks to tutorial by Brackeys you can learn to use Unity’s built-in lightning system to get amazingly realistic scenes.
Small note: Unity’s default lightning doesn’t look that great.
So you need to understand how 3D lighting works if you want to get the most out of Unity. Brackeys covers everything you need to know to make your scenes pop off the screen.
With this video you’ll gain some fundamental knowledge of lights & shadows, and learn the difference between baked and real-time lightning.
Physics Objects
There’s a lot you can do in Unity without having to write a line a code.
Using the built-in physics engine it’s possible to give agency to your objects from within the Unity editor.
In this tutorial you’ll learn how to use Colliders, Rigidbodies, and Physics Materials to make a ball bounce forever.
These are tools you’ll use again and again as you build games in Unity.
Use these tools to quickly add collision and movement to your Objects.
Unity NavMesh
Pathfinding is one of the most powerful tools in a game developer’s toolbox.
We can use it to add behavior to our game worlds that make them feel more lifelike.
Pathfinding can also be used to create more interesting challenges for players. With Unity, you can achieve a powerful navigation with just a few clicks of your mouse.
The NavMesh makes it easy to generate paths based on physical objects in your game. In this video by Brackeys you’ll learn how to use the NavMesh to navigate through an obstacle course.
Blender Character To Unity
3D artist and game designer Darrin Lile shows you the ropes of Unity’s Animator tool.
With Animator, Unity developers have a built-in state machine that makes it easier to manage animations.
With just a few lines of code you’ll be able move characters in any way you desire. The finite-state machine will handle the animations based on player input.
Don’t miss Darrin Lile’s character animation tutorial to learn how he created the assets used in this video. Surprisingly they were not created in another pricey program but instead created with Blender, a popular open source 3D design program that plays well with Unity.
Unity Rigidbody Collision Detection Modes
This video offers a deep dive into Unity’s collision detection.
With advanced knowledge of Unity’s physics engine, it’s easier to create the exact behaviors you want.
Note it’s important to use the right tool for the job here. The same is true in Unity.
All information presented in this video will help you achieve more complex and specific behaviors in your games.
Start Menu
Almost all games have some type of User Interface.
Brackeys teaches you the ins and outs of game UI in this Unity tutorial. Use it to a build a sleek start menu for your next project.
Brackeys includes all the essentials here. You start with a basic setup and then create a submenu complete with a slider and back button.
Unity ships with flexible User Interface tools so you don’t need to create everything from scratch. There’s a lot you can do with Unity’s UI so be sure to explore the tools further.
Virtual Joystick
It’s not always mentioned but Unity is a great choice for mobile game developers.
With its cross-platform support you can deploy your project to many OS’ and get them running natively on all mobile platforms.
N3K EN is a game developer community that makes videos for their fans. In this tutorial they show you how to make a virtual joystick for a mobile device.
Turn your phone into a controller and take your Android(or iOS) game to the next level with Unity’s easy to implement touch functions.
Rotate an Object
Learning how to script behaviors is integral to creating amazing games with Unity.
Those new to coding may be surprised to learn it only takes a few lines of code to move something in Unity. Rotating an object is a common action, along with moving background objects.
In this video by Katus Production you learn how to rotate a game object using the Transform component.
You can also use the Transform component to move and scale game objects. It would be a good idea to experiment on your own using the Unity documentation.
Camera Script
In this brief video by Jayanam you’ll learn how to make a camera orbit your player. This is simple to do in Unity but does require practice to memorize.
Third-person games often need to rotate the camera to get a better view as the player moves. This video shows how to get this feature using the mouse input to control the amount of camera rotation desired.
Jayanam is one of my favorite YouTube instructors for these topics.
His videos are always concise with lots of excellent examples. Check out the previous video in this series to learn how to make the camera-follow script used in this demonstration.
Third Person Camera & Movement Controller
Once you learn Unity, you’ll be surprised how quickly you can create game prototypes.
For example: in this video by Stephan Barr you’ll see how to create a custom player controller in under 8 minutes!
Because Unity handles collisions and physics, we can focus on control and movement. Pushing the player around a map may not seem like much but it’s the foundation for most games.
Once you have a solid player controller you can start adding content and features to your game. Before long you’ll have something worth sharing or at least worth calling a portfolio project.
Grappling Hook
Some games like to take a simple mechanic and explore it in a variety of situations. Hit games like Braid, Portal, and Super Meat Boy come to mind.
One popular mechanic is the grappling hook. MegaBlast Games shows you how to add a grappling hook to your project in this detailed tutorial.
Use it in a variety of situations to create new levels for your player to explore.
This tutorial could be expanded in several ways too. For instance, you could add a swinging feature or add distance upgrades to your grappling hook.
Game Interactions
Brackeys is back, this time with an advanced coding tutorial on making interactable objects for your games.
This video is part of a larger series on making an RPG in Unity, but the concepts covered here apply to almost any game.
Brackeys does an excellent job of explaining derived classes and virtual methods. His hands-on approach will help you grasp these concepts quickly.
And it should be obvious that practicing new concepts is a great way to become efficient in them. Once you’ve tackled the tutorial, try applying this knowledge to your own projects and expand on these lessons.
How To Create a Timer
In this video by N3K EN you’ll learn how to add a simple timer to your game. Lots of games make use of time in some way, like racing and fighting games with time limits or survival games for their day-and-night cycles.
Here you’ll learn how to keep track of the time and use in the update function.
By storing the current time as a variable it’s possible to use it for a variety of features.
This tutorial also shows you how to use an external trigger to stop the timer. You could also add triggers that shorten or lengthen the current time to create a time bonus mechanic.
The Built-In IK System
Game developer Sharp Accent teaches you everything you need to know about Unity’s IK system.
Using Inverse Kinematics is the key to achieving smooth, believable animations.
With Unity’s animation tools you can create your own animations right in the editor too. All you need is a rigged model.
IK bones will keep the player’s joints pointed in realistic directions, among many other similar behaviors. As they move the knees will stay pointed forward no matter what. This makes moving a character more like moving a puppet.
Inverse Kinematics is an advanced topic but it’s something you’ll need to learn if you want to make solid 3D animations with transitions and realism.
Let’s Make an RPG Game in Unity
This in-depth series by Unity expert Sykoo covering the basics of an RPG in Unity.
You’ll start will player movement before learning about creating and attacking enemies.
This series covers a lot of ground. By the end you’ll have an animated character that interacts with the game world as well as a working inventory system.
Also check out Sykoo’s other videos to learn more about creating games in Unity. After you’ve learned some new features you can come back and expand your RPG.
Create An FPS Survival Game
This epic series by Awesome Tuts has everything you need to create your own FPS survival game with Unity 3D.
Over the course of eight hours you’ll learn how to create a fully interactable game complete with animations, weapons, enemies, and special effects.
This tutorial is broken up into parts so that you can learn at your own pace.
You can also get the free assets used in the video directly from the Awesome Tuts website. It includes some great models along with other freebies for your own projects.
Premium Courses
Level up your game designs with these premium lessons from professional 3D artists.
Unity 3D is a massive program with a ton of features. A good instructor can be the difference between learning properly or learning… not so properly.
With premium courses you can learn from industry insiders who deliver focused lessons and teach subjects faster, clearer, and with more structure to guide you along the learning path.
Complete C# Unity Developer 3D
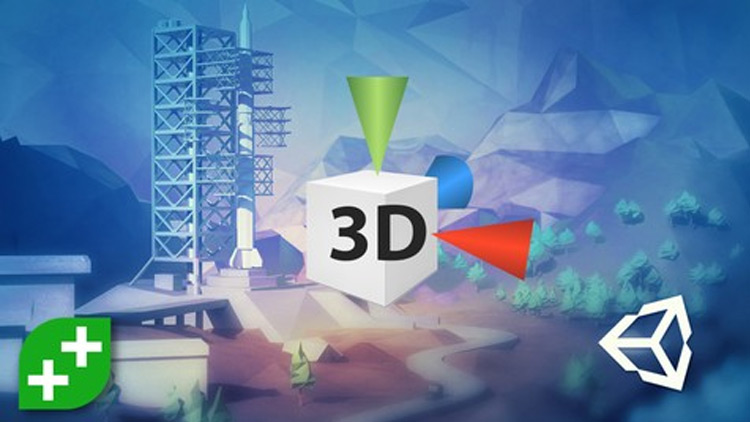
This is the perfect place to start for those looking to learn Unity and C#.
In this course you learn the principles of coding in C# by practicing it through game development.
The long-awaited sequel to the original Complete Unity Developer course, this update includes all new projects that take advantage of the latest Unity features.
Start off with a terminal simulator and learn the basics of coding in Unity. This course isn’t just about learning game development either. It offers a heavy emphasis on learning C#.
These skills can easily transfer to .NET or other languages so it’s a great place to start if you’re serious about game design as a career.
And since it’s from Udemy you can get this for a really great price. You’ll quickly reach a skill level to be proud of and you’ll also learn skills that will make you a better programmer.
RPG Core Combat Creator
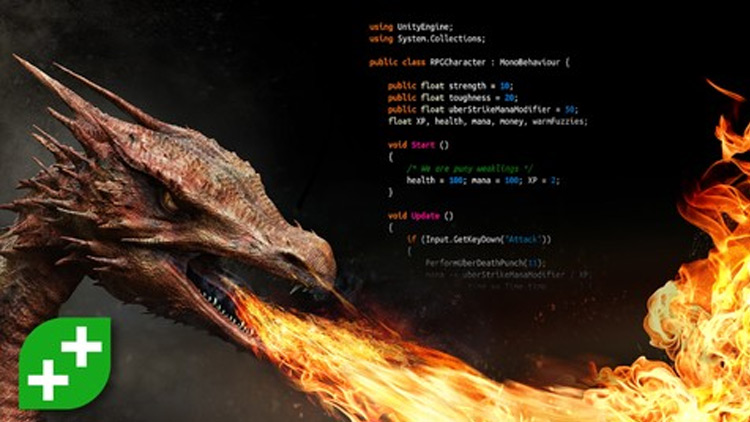
In this other Udemy course you’ll tackle the basics of creating an RPG game.
Role Playing Games can be surprisingly complex, but this series teaches step-by-step how to build an RPG with best practices in Unity.
Some basic understanding is needed to get through this course, specifically a light background with Unity and C#.
You’ll be dealing with AI pathfinding, particle systems, co-routines, and other advanced topics.
Game Asset Production Pipeline
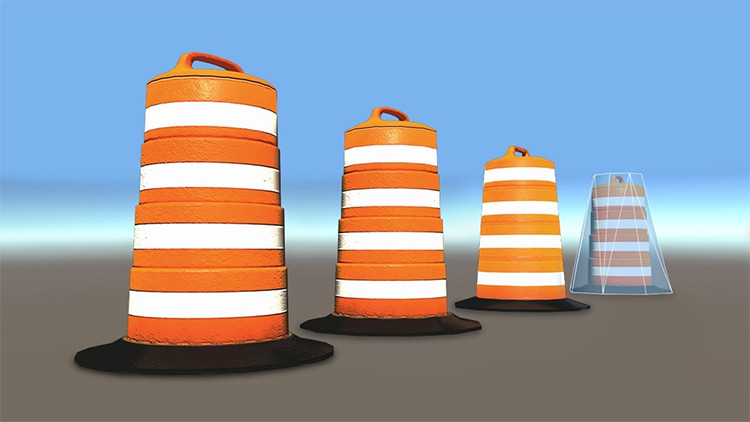
So here’s a really interesting video series created by game designer and 3D artist Joshua Kinney, specifically focused on the asset production pipeline.
Here you’ll learn how to make high-poly art assets for Unity 3D.
Using 3ds Max, ZBrush, and Substance Painter, Kinney covers the entire process of creating assets for games.
He starts with some general tips for creating game content before diving into the nitty gritty details like modeling and texturing.
By the end of this course you’ll have studied the entire asset pipeline, including modeling, UV unwrapping, and texturing.
The last portion explains how to use assets in Unity and take advantage of optimization features.
Unity Materials Fundamentals
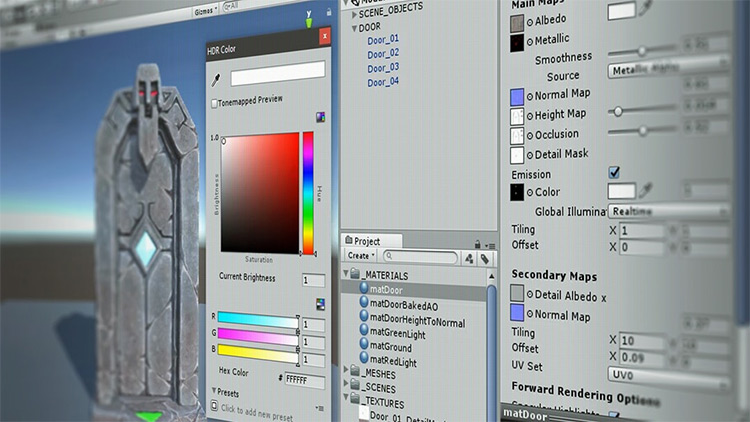
Let’s face it: Unity’s default lightning looks a little plastic.
If you’ve ever wanted to learn how to get more from Unity’s material and lighting systems then this is the course for you.
Christopher Pellow has taught game development at the university level and in this course he’ll take you on a deep-dive into Unity’s Physically Based Shading materials.
You’ll learn how to use different shaders to change the look of your assets fast. You’ll also cover the importance of textures and lightning for achieving realism in your work.
There’s a focus on using reference images and concept art throughout the course as well. This is a great chance to see how professional game designers use materials in Unity.
Particle System Fundamentals

Unity’s particle system is robust and can be used to create a huge variety of FX for all kinds of projects.
Visual FX will help your game stand out and particle systems give an easy way to add interesting objects into your game. Use them to add a fire to a torch, or build an erupting volcano.
Artist Michael Baker has worked in the VFX industry for over a decade. In this course he teaches how to add a particle system to your scene and manipulate it to achieve the visual effects you want.
When you’ve finished this course you’ll know how to create a custom fire effect as well as how to create your own particle systems in Unity.
Intro to Mecanim in Unity
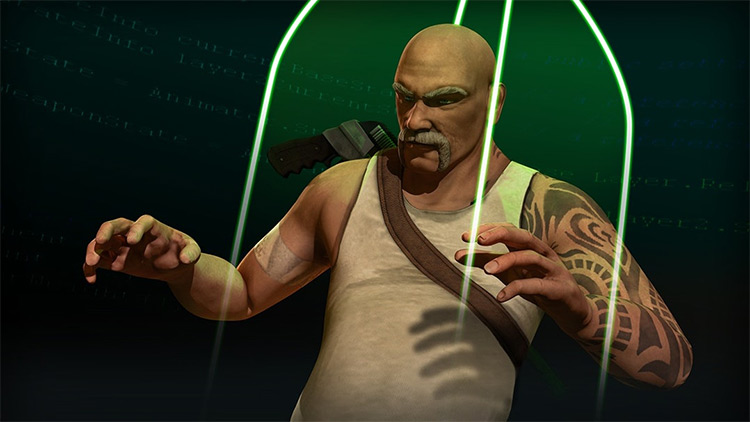
When it comes to animation, getting smooth transitions is a necessary hassle.
Unity’s Mecanim tool makes the process easier by giving you tools to manage your character animations.
But to dive deeper you’ll want some help, and in this course you’ll learn how to best set up your animated rig for Unity using the 3D package you’re most comfortable with.
This leads into using Unity’s Mecanim to create blend trees that will blend your animations together.
You’ll also cover using state machines to manage the animations and enable the player to animate a character with the press of a button.
Shading for Unity Using Substance Designer
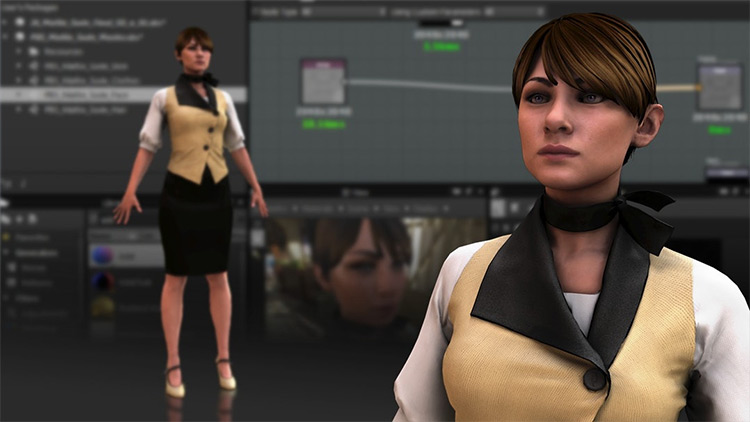
This series focuses on using Physically Based Shaders in Unity.
You’ll learn how to use these physically based shaders(PBS) to create a variety of effects from metal surfaces to mirrors.
PBS materials give you a large degree of freedom. Learning how to use textures in combination with materials is the key to a wide variety of effects.
Through this course you’ll develop a solid grasp of the PBS workflow too. And by the end you’ll be able to author your own content using your deeper understanding of Unity and Substance Designer.
Game Prop Texturing Fundamentals
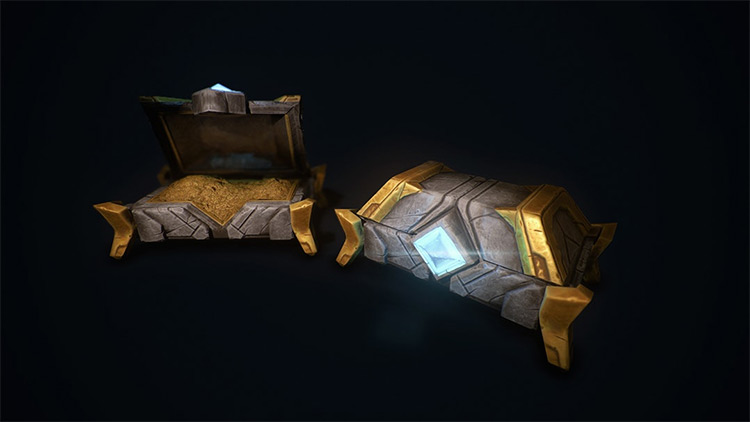
Learning to create your own game assets is a difficult task.
Not only is the process complicated, but there’s a lot of different pieces that need to work together for things to turn out well.
In this more advanced course, artist John Cox shows you how to build your own game prop for Unity. You’ll cover everything along the way including modeling, unwrapping, baking, and texturing.
You’ll learn the differences between creating low poly and high poly models and how to texture them using Substance Painter.
This course uses a bunch of software including ZBrush, Substance Painter, 3ds Max, and Unity. As such, it covers the entire pipeline of asset development so it’s really technically challenging(but also quite rewarding).
Game Character Animation in Unity & Maya
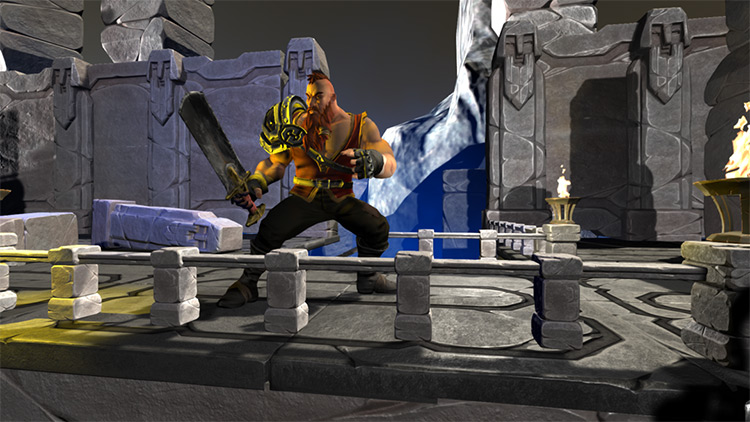
Animated characters are the ultimate goal of any budding animator.
3D artist Mark Butler shows you that it’s easier than you think to create your own animated characters for Unity.
First you’ll learn how to create a hero character in Maya. Then you’ll learn how to export the character to Unity to put together your animations.
This course covers the entire process of creating an animated character for a game. By the end you’ll have the knowledge you need to model and animate your own characters with Maya and Unity, leading to some really incredible results in your games.


